Viewing and photographing aurora is something that has broad appeal, not just to seasoned astrophotographers. This page aims to introduce some basic tips for photographing Aurora Australis, tailored for our location in south-west Western Australia and those with no astrophotography experience.
If you would like more detailed information or hands on assistance with learning astrophotography, including photographing aurora, join one of my astrophotography workshops.
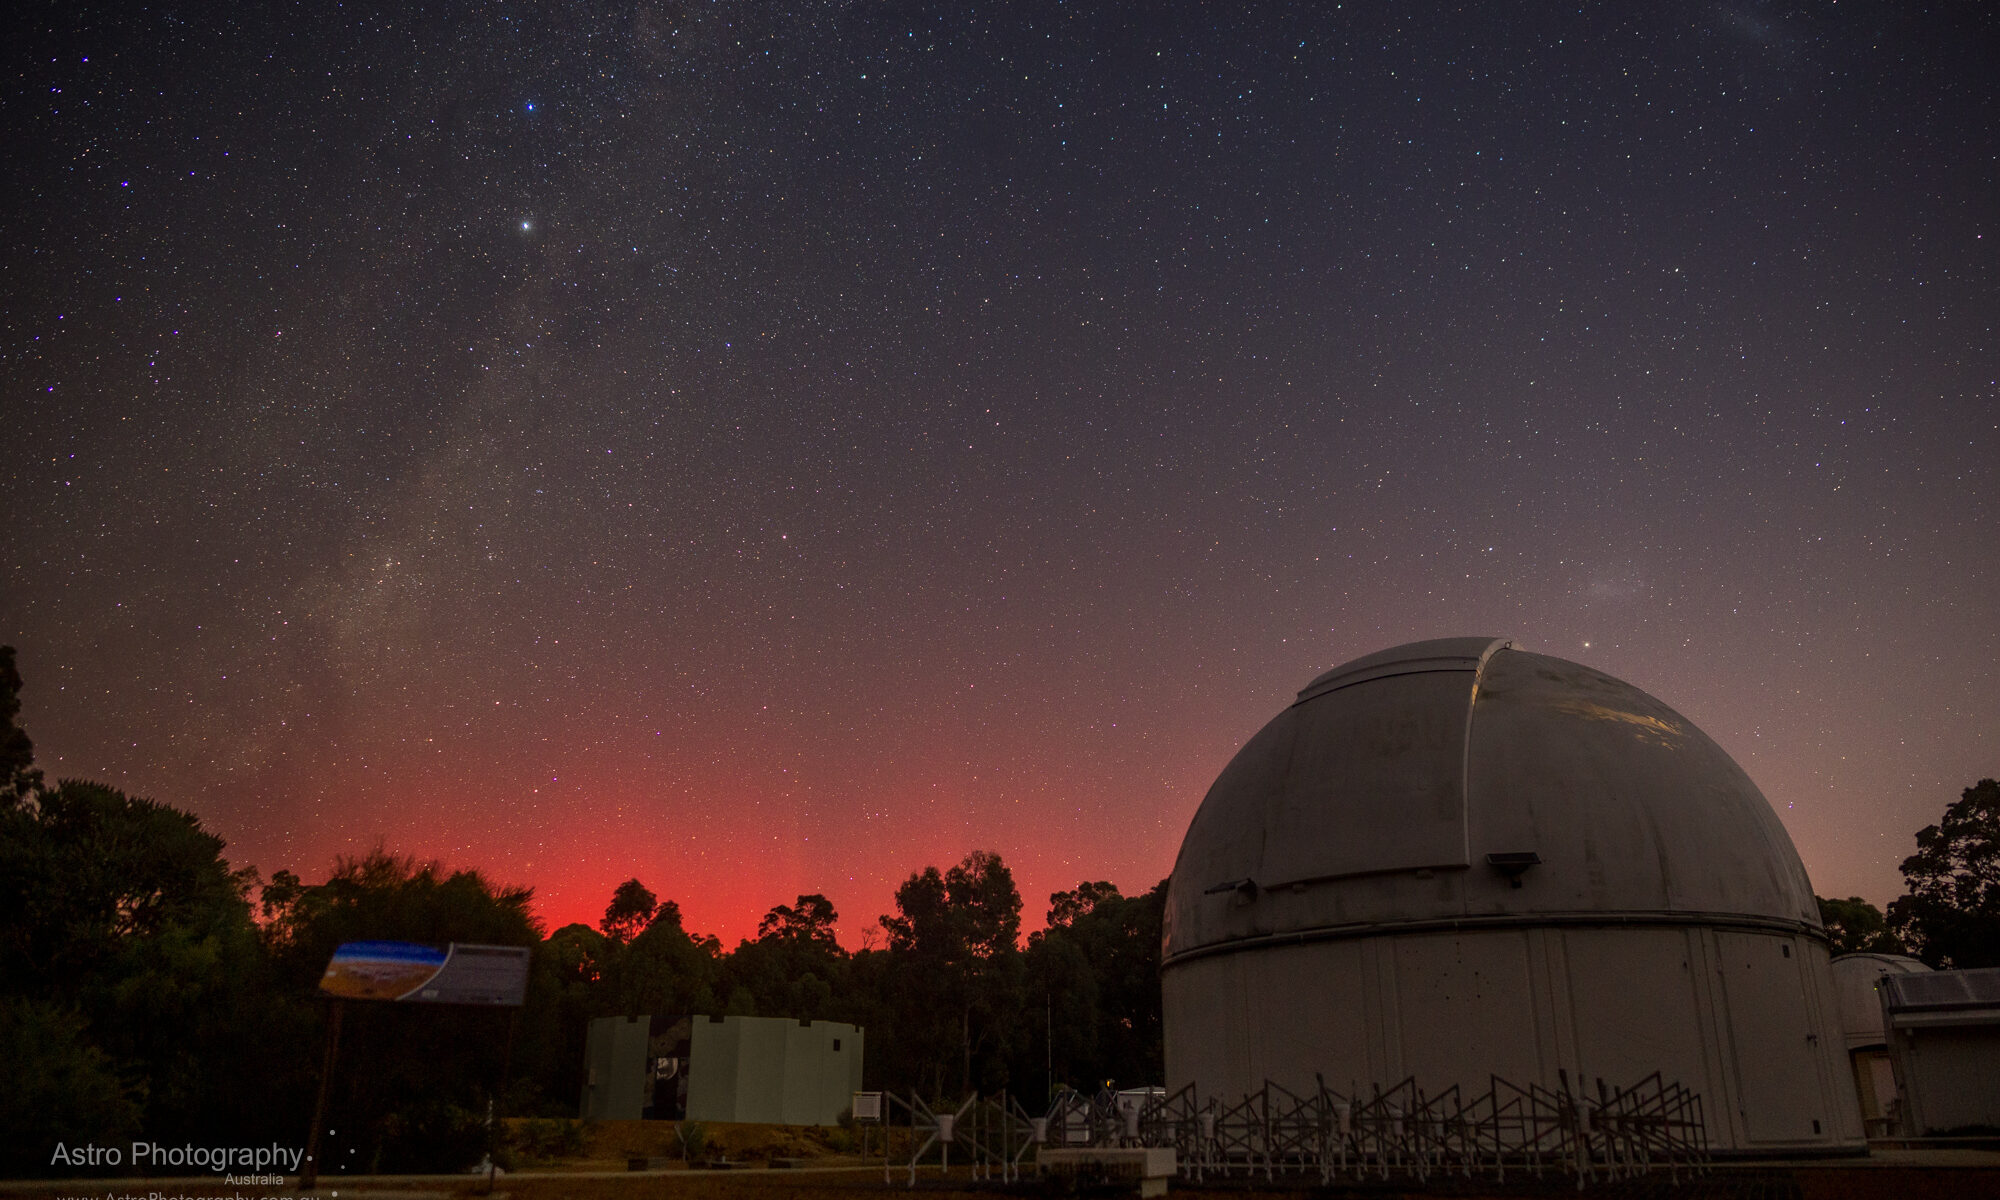
If you are after general aurora australis information visit my other page Aurora Australis from Western Australia
Let’s break this down by types of cameras, so you can match what camera you have at your disposal, with how you can photograph Aurora Australis.
Keep in mind: Nothing is certain with aurora, and so with photographing it. There is no single best answer to when you will be able to photograph it, and what settings you need. Take what is here and apply it to your situation.
One other general tip: Always have a head torch with you. You need both hands to efficiently operate a camera (phone or DLSR/Mirrorless) in the dark, you don’t want to be holding a torch as well.
Mobile Phone
Q: Can your mobile phone photograph aurora australis?
A: Probably, more certainly if newer than about 2020. Try it if it’s your only option.
Here are some tips to give your mobile phone a fighting chance:
- Use a tripod, brick wall, ledge, the ground and a rock, or something else, anything else solid to rest the phone on so when it tries a long exposure it gets the best data possible. You can buy mobile phone holders for tripods.
- Using your default camera app it will most probably try taking a long exposure, for example my iPhone 13 tries to take a 10 second exposure when pointed at a dark night sky, accumulating the image over that 10 seconds. Let it do this. The end result should show stars and light pollution, and of course maybe aurora if it was present at the time.
- If your phone is refusing to take a long exposure, try:
- Using a “pro” phone camera app, search your app store for options. On the iPhone I use “ProCam”. If you use a pro camera app that lets you adjust ISO, aperture and shutter speed then take a read of the DSLR suggestion below for settings of these.
- Ensuring flash is turned off
- Trying to exclude bright foreground objects that the camera app may be concentrating on rather than the aurora you want.
- Take multiple exposures. If you can, configure an app to take them repeatedly without you having to touch your camera. You could get lucky with one shot, or you could get a great timelapse as a result.
You will generally find that your aurora photographs taken with a mobile phone will be lower resolution and a bit more “mushy” or “soft” than those of a DSLR. This is a result of the phone trying it’s best with a long exposure, sensor noise, and image subject moving (if not solidly mounted on a tripod or such).
DSLR / Mirrorless
Is your DSLR newer than about 2012 and does it have Live View? Yes? Well it is likely suitable, give it a try. If your DSLR does not have live view (that is you cannot see on the back screen what you will take through the lens) it is a challenge.
The newer the DSLR, odds are the better your chances of getting a reasonable exposure, just by way of advancements in sensor and processing technology.
Is your Mirrorless camera suitable for Aurora Australis photography? Almost certainly. By Mirrorless we tend to mean modern digital cameras that aim to replace DSLR’s, that have interchangeable lenses in most cases, but do not have a mirror and prism, instead having a digital viewfinder and a screen on the rear.
Some basics to get the most out of your DSLR/Mirrorless:
- Use a tripod or some solid foundation to set your camera on
- Use a cable release, bluetooth/wifi to trigger your camera without touching it
- Focus using Live View, Manual Focus, and bright stars or very distant objects.
- Lens: If you have a choice, choose a moderate wide-angle
- Wide angle such as 12mm, 14mm, 17mm are often the choice for Aurora to include landscape with the night sky.
- In south-west Western Australia aurora are usually low to the ground, extending to perhaps 40 degree altitude but more commonly 20 degrees. This actually suits a tighter crop, such as 20mm or 24mm. This is very different to what you would use in Norway with aurora going overhead, and a mountain lake below where you need a very wide field of view.
- ISO: 1600 – 6400ISO.
- Typically I find that the beginner is best to aim for a moderate to high ISO so they get out of the camera a result they are expecting without the need to do any computer image processing later. While many factors can affect what ISO you choose such as temperature, your personal tolerance for noise, model of camera, what you will do with the image, etc, consider 1600ISO – 6400ISO for a modern DSLR or Mirrorless camera.
- If the image is too noisy, take the ISO down. Noise is “random” speckled pixels of colour.
- If the image is too dark, try taking the ISO up (bigger number)
- If the image is too bright, try taking the ISO down (smaller number).
- Shutter speed: 5s – 30s.
- You will typically need about 5 seconds to start resolving a good number of stars, and hence maybe aurora.
- Up to 15 seconds is not a problem for most DSLR/Mirrorless and rarely results in noticeable star trailing when using a wide lens.
- By the time you get to about 30s you are likely to see some star trialing, and you risk blurring aurora which often move/change more frequently than 30 seconds.
- Let me re-emphasis that point about aurora moving: the beams change position, often fast, in a time-lapse of 15s exposures you will see changes between frames, so going longer than that you will likely see capture more broad glow of colour not pillars of light.
- Aperture: Fast (F/2.8)
- You want as much light as possible so use the fastest aperture your lens allows.
- The only reason you will stop down from this is if you need to incorporate closer objects in-focus in the one shot. But consider a seperate shot focused on foreground objects instead.
- White Balance: Fix it on something.
- I recommend fixing your white balance on daylight or a custom Kelvin value such as 4500K-5000K. This way when the sky colour changes due to aurora, light pollution, cloud or other interference such as your aurora buddy next to you, you have consistency between exposures.
- AWB is fine if you want to keep it really simple. The colour will change between exposures.
- Use RAW or RAW+JPG not JPG and you can edit white balance/colour later on a device.
- High ISO Noise Reduction: Low or off
- Long Exposure Noise Reduction: Off unless buffering available
Happy Aurora Photographing and enjoy the time out there with family or friends!

