Photographing the Geminids Meteor Shower

The 2023 Geminids Meteor Shower is almost upon us, with its peak overnight Thursday 14th December in to Friday 15th December (Perth, Western Australia). The Geminids is typically our most consistently performing meteor shower to observe here in WA.

This post provides some basic information on how to photograph the Geminids Meteor Shower. If you would like more info to be prepared for future metoer showers then jump on one of my workshops where I teach astrophotography.
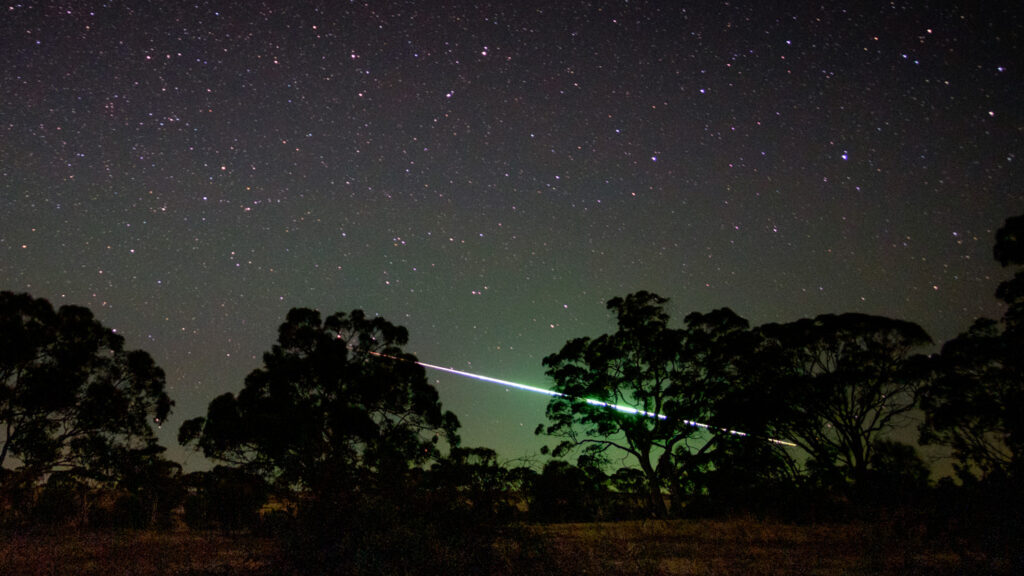
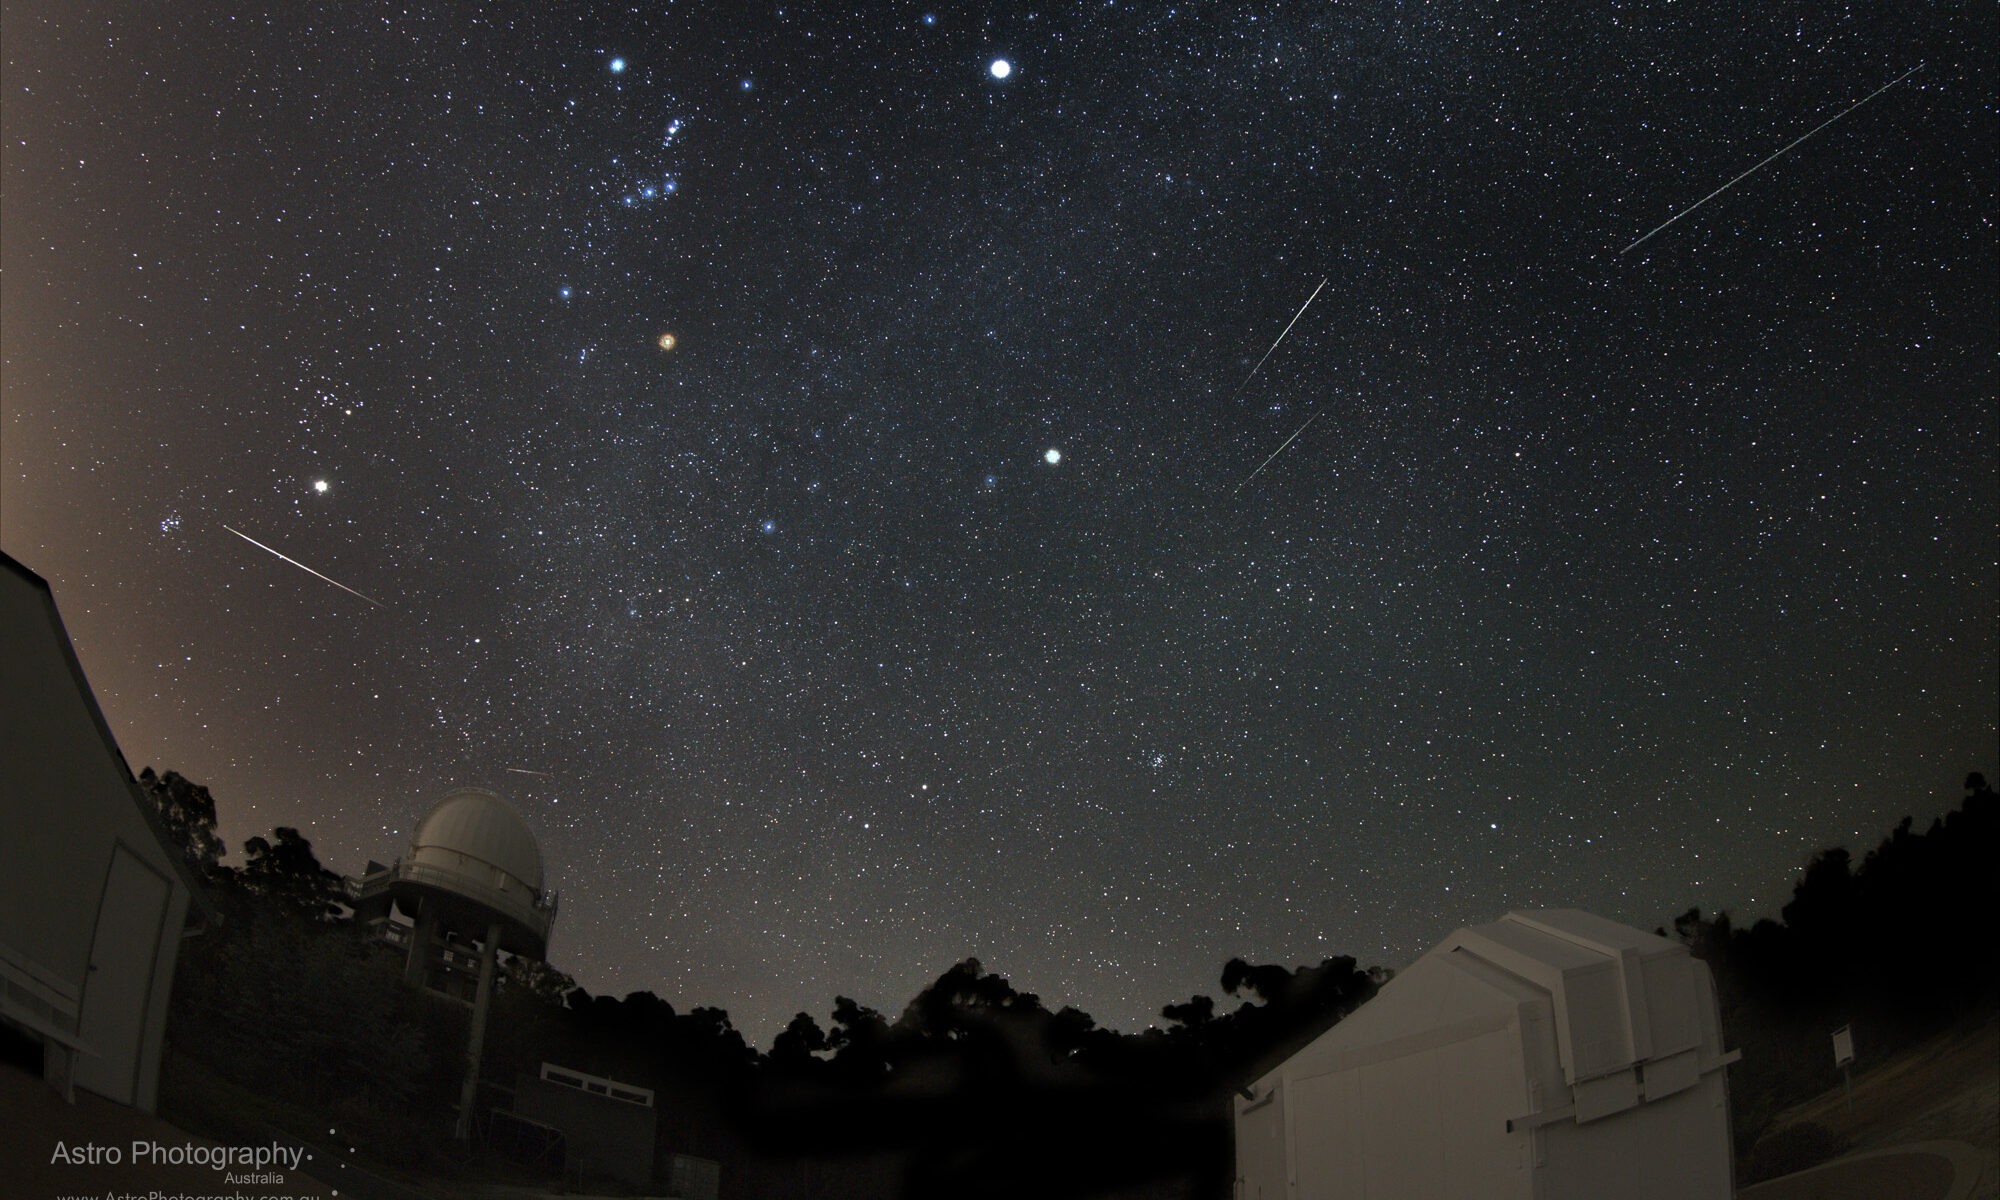
A meteor shooting across the northern horizon during the night of 2017 Geminids Meteor Shower. Photographed by Roger Groom in the Central Wheatbelt (WA). Single 30s exposure cropped from a 12mm lens on Fuji X-E2 camera (APS-C crop sensor).

When to Photograph the Geminids Meteor Shower in 2023

The basics of when to view or photograph the 2023 Geminids Meteor Shower from Western Australia are:

  • Date: Thursday 14th December – Friday 15th December 2023.
  • Time: Approximately 10pm – 4am

The reality is that Gemini the constellation, in which this meteor showers’ radiant is extending from, rises late in the evening. Parts of Gemini are above the horizon not long after sunset but the constellation as a whole does not rise nicely above the ground until about 10:30pm.

What if I can’t view them on the 14th you say? Well these meteor showers come and go over time, so you will likely see meteors on nights either side, with the rate decreasing night by night. There’s no harm in giving it a try on other nights, or even doing a practice run in the nights leading up to the peak night.

Where to Look for the Geminids Meteors

Meteors can appear anywhere in the sky but generally speaking point your camera towards the constellation of Gemini which is in the NE before midnight, North between about midnight and 2am, NW between 2am and 4am.

Until the constellation is above the ground chances are a reasonable proportion of the meteors simply won’t be above the ground either, and so your chances of seeing one is reduced until the constellation has risen higher in the sky.
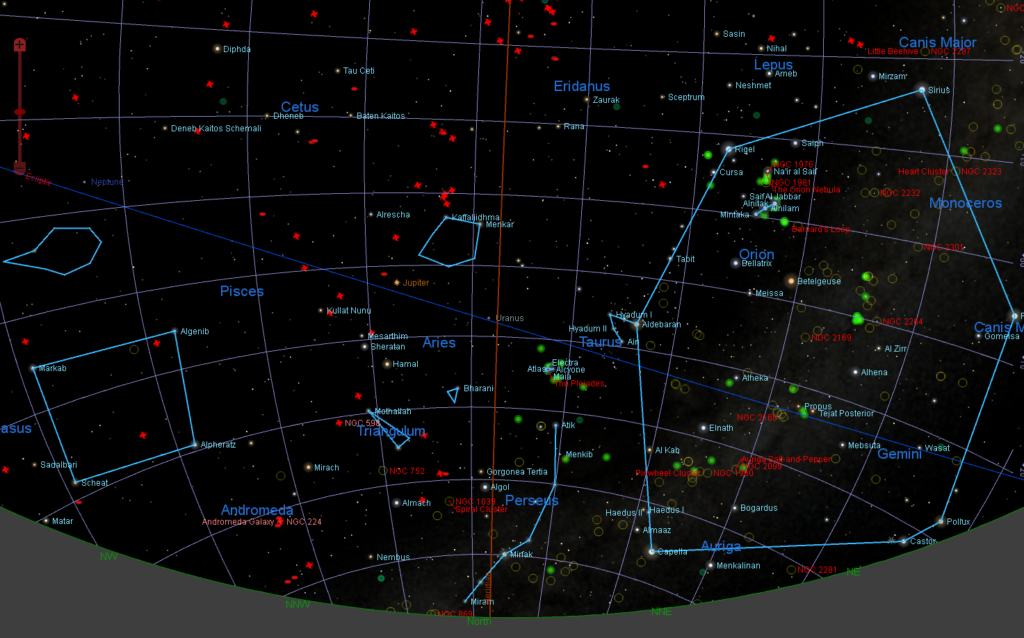
The night sky as viewed from Perth Western Australia at 10pm on December 14th 2023. Gemini is the large constellation shape to the NE. During the night this moves across the north to the north-west. Point your camera toward the constellation of Gemini.

Give Yourself Time

Observing a meteor shower is not something you do by simply ducking outside for 20 minutes. Even if the Zenith Hourly Rate (ZHR) is high you still need to be outside looking up (or photographing) for a decent period of time to have a chance of seeing/photographing any meteors.

  • Let your eyes adjust over a minimum of 20 minutes
  • Use a head torch with dimmable light to use low level white light or red light when moving around outside or using your camera, so you have more chance of seeing a meteor.
  • You need to be observing the night sky for a good few hours if you are going to capture (or see) any decent number of meteors.
  • If you tire of being outside, set your camera up to leave your camera taking exposures over a long period of time, many hours if you can, while you go back inside or to sleep. Cable release/intervalometers, or intermanal camera intervalometer, and possibly an external power source such as USB power brick powering the camera by USB-C can allow this.
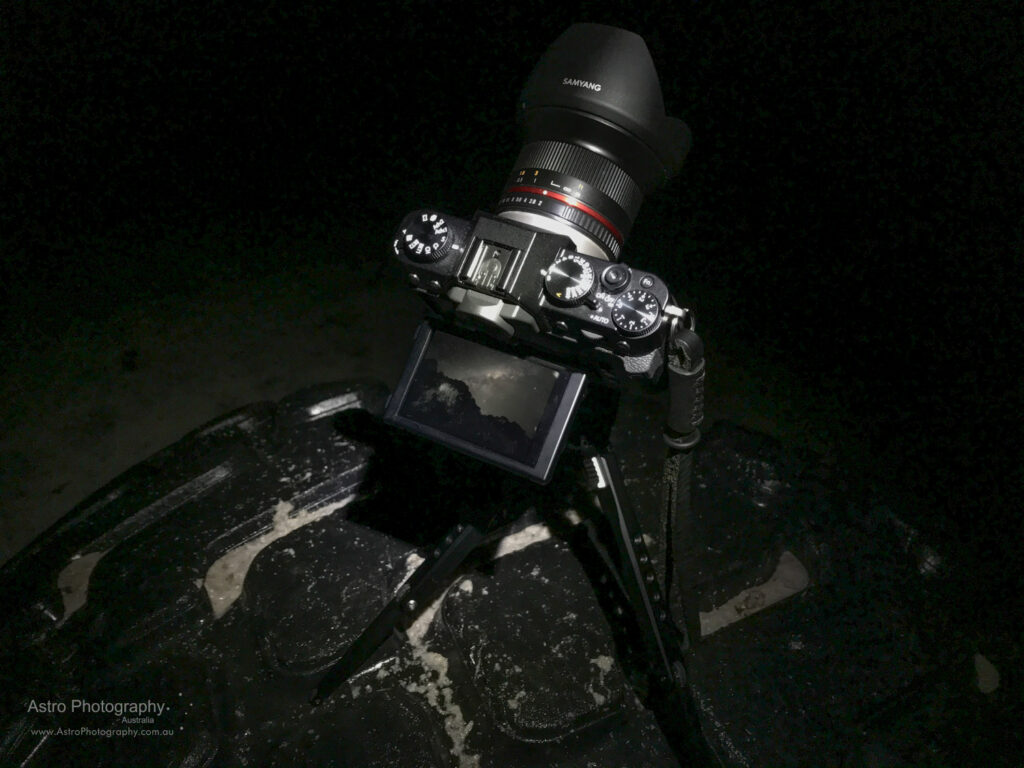
Use a tripod or what you have at hand to mount your camera on a rigid prop angled to view the north-east sky after sunset, north around midnight, north-west after 2am.

How to Photograph a meteor shower with your Phone

Photographing a meteor shower with your mobile phone is a tough ask, I’ll be honest! You will probably only capture the brightest of meteors.

Most modern mobile phones are capable of some nightscape/Milky Way astrophotography. They do this using along exposure time, usually of about 10 seconds. Meteor showers present a particular challenge where the camera needs to capture a brief burst of light very quickly. This is difficult for mobile phones.

The algorithms used for mobile phone astrophotography typically “accumulate” the image over time and perform some smarts to smooth out noise and combine the accumulated images. This means that small brief changes like a flash in the sky might or might not, depending on your particular phone, be represented in a final image.

To give your mobile phone the best chance of recording a meteor:

  • Mount the mobile phone on a tripod. Manufacturers such as Leofoto have tripod mounts for mobile phones.
  • Turn off the flash
  • Use a pro app to do interval shooting:
    • allowing you to take a continuous sequence of photographs one after the other for a long period of time (hours ideally, but as long as you have).
    • each exposure would be about 10-15 seconds ideally
    • no gap between exposures
  • Use a long exposure time (if able to configure this in your app) such as 10 seconds. The longest exposure time you are likely to want is 15 seconds.
  • Use a external USB battery to power your phone for a longer period of time.
  • Do a test run beforehand with the Timelapse function on your phone camera. If it will take long exposures during the timelapse then it may be useful, but many will limit the exposure time to very short in this mode.
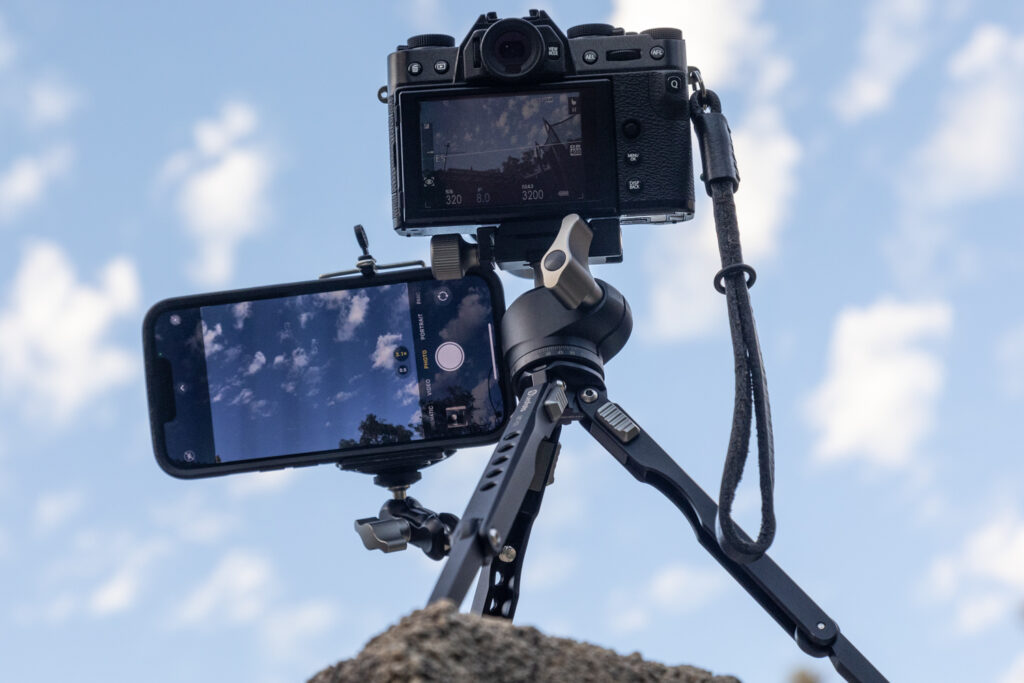
Use a tripod with phone mount adapter to hold your camera rigid and pointing up at the night sky. Your images will be sharper and in the case of most modern mobile phones also higher resolution. Shown is a leofoto mobile phone adaptor on my Leofoto MT-03 tripod.

How to Photograph a meteor shower with your DSLR/Mirrorless Camera

Photographing a meteor shower is similar to nightscape astrophotography with a few critical differences:

  • Ensure Long Exposure Noise Reduction is disabled in your camera so it does not take a second exposure with the shutter closed (excluding Canon 6D which buffers the dark frame).
  • Your camera needs to run over several hours. Use an external battery source and a large memory card, together with cable release or intervalometer to have continuous exposures.

Those are the main differences between a normal nightscape and a meteor shower session. Now I’ll go through the full set of settings I would use for a meteor shower photography using a DSLR or Mirrorless camera:

  • Lens:
    • Use the fastest lens you have (smallest F number, such as F/1.8 or F/2.8)
    • Use a wide lens, such as 12mm, 14mm. Anything down to as narrow as 24mm is useful, but widest the better.
    • Put the lens/camera in manual focus mode so it doesn’t focus hunt every exposure
    • Put the lens shade on, to help keep dew/condensation off the lens
  • Camera:
    • ISO 1600 – 3200 is a general good starting point, depending on many factors unique to your situation, but check your images for noise and decrease ISO if too noisy.
    • Shutter speed: Generally up to 15s (see notes below)
    • White balance: AWB or fix it on something such as 4500k for consistency
    • Long Exposure Noise Reduction: Off
    • High ISO Noise Reduction: Low or off
    • Drive mode: Continuous (low or high speed)
  • Accessories:
    • Remote trigger, cable release, intervaolometer or such to ensure continuous ongoing exposures one after the other.
    • Dew heater/strap if in a moist environment prone to condensation
    • USB battery pack to power your camera (if compatible)

Here’s how you go about it:

  1. Let your eyes adjust and get to know your camera in the dark.
  2. Set your tripod on a sturdy tripod.
  3. Configure settings.
  4. Focus manually on a bright star/planet using Live View. Some modern cameras will autofocus on stars in which case do this then switch to manual focus.
  5. Test run on short (5s) exposures to check focus and composition.
  6. Set to a longer exposure time such as 10 or 15 seconds.
  7. Use intervalometer, cable release or other mechanism to take continuous exposures.

A note on shutter speed:

  • A longer shutter speed (15s, maybe 30s) will mean less images to process/store, and show a brighter night sky in each individual exposure.
  • A shorter shutter speed (5s – 10s) will mean you can use the exposures to build a timelapse video with smoother transition, as well as use the exposures in their own right as individual photos. The individual exposures will not show the night sky as bright, but the decrease in shutter speed won’t affect how bright the momentary meteors are in your images.
  • Your camera and lens combination, and where you are pointing your camera in the sky will dictate what the longest shutter speed is you can do before stars trail. The 500 rule is a guide (500 divided by your lens’s 35mm equivalent focal length) but doesn’t cater for all this. Do some test shots and check your playback.

Enjoy the night!

I find it hard to stop the technical work at the camera and actually enjoy the experience of being under the stars and seeing meteors in person, but we should try! As dedicated as we may be to the cause of astrophotography 🙂
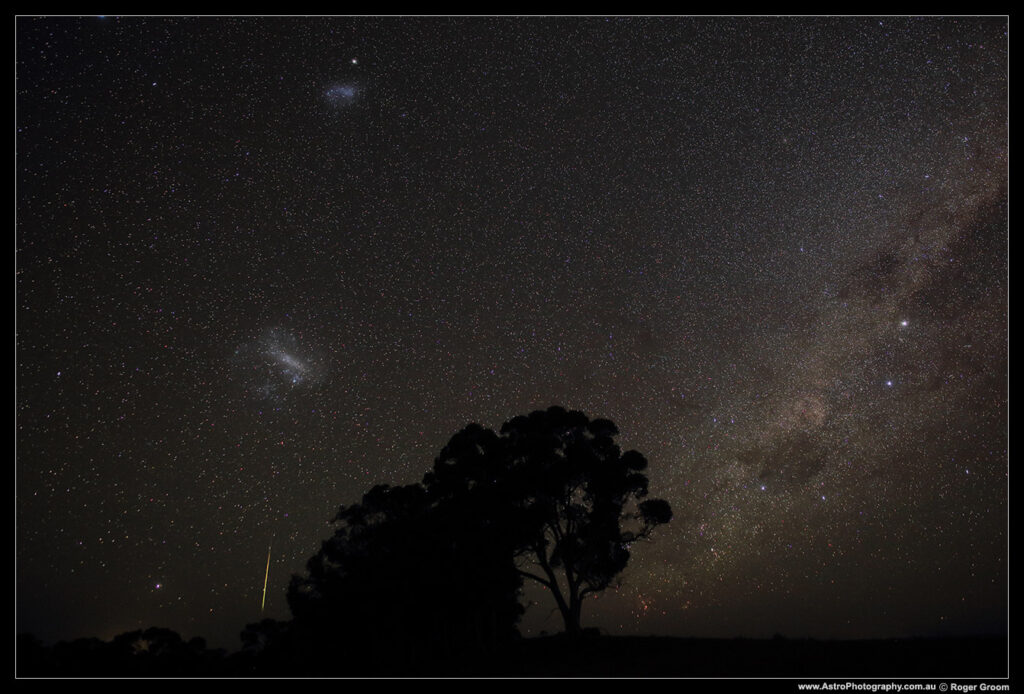
Roger Groom standing under the southern sky, with a meteor shooting down below the Large Magellanic Cloud.

Mount Magnet Nightscapes Workshop

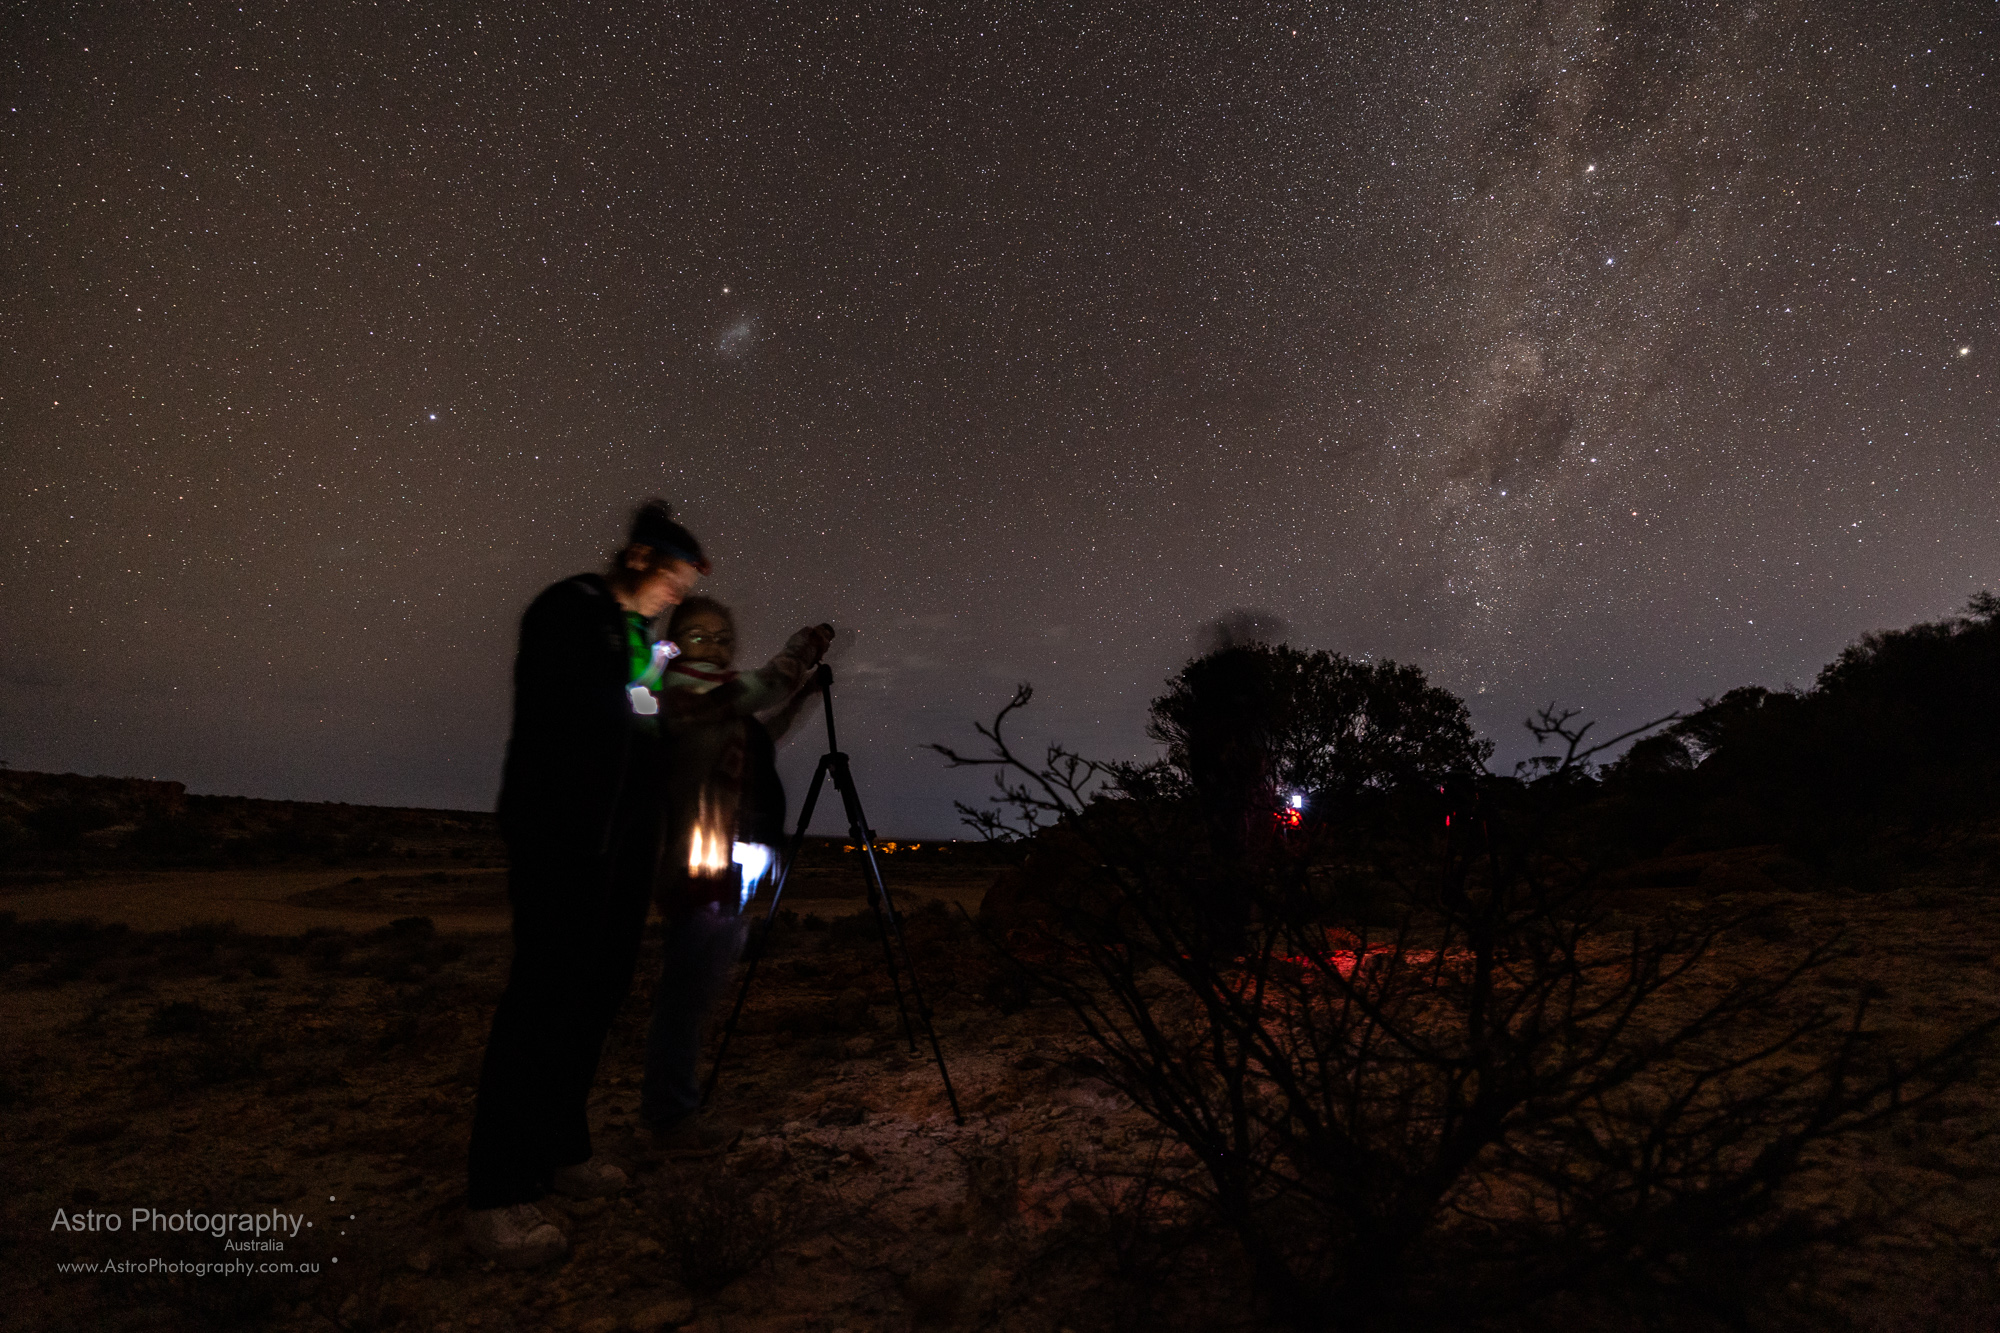
It’s september 2023 and Mount Magnet’s “Astro Rocks” festival is back in a smaller way this year with long table dinner organised by the Shire of Mount Magnet at the race course together with telescope viewing, and a astrophotography workshop provided by myself at The Granites the night prior.

The nightscapes astrophotography workshop I faciliated at The Granites was a small group, being only advertsied for a short time prior and 600km drive from Perth on a Friday, but it was still great fun of course.

Astro Rocks is a festival the Shire of Mount Magnet has run for some years, typically in September or October, featuring both geology and astronomy events. This year it was watered down, but keep an eye out for it in future years, there’s normally sufficient warning to plan ahead your trip.

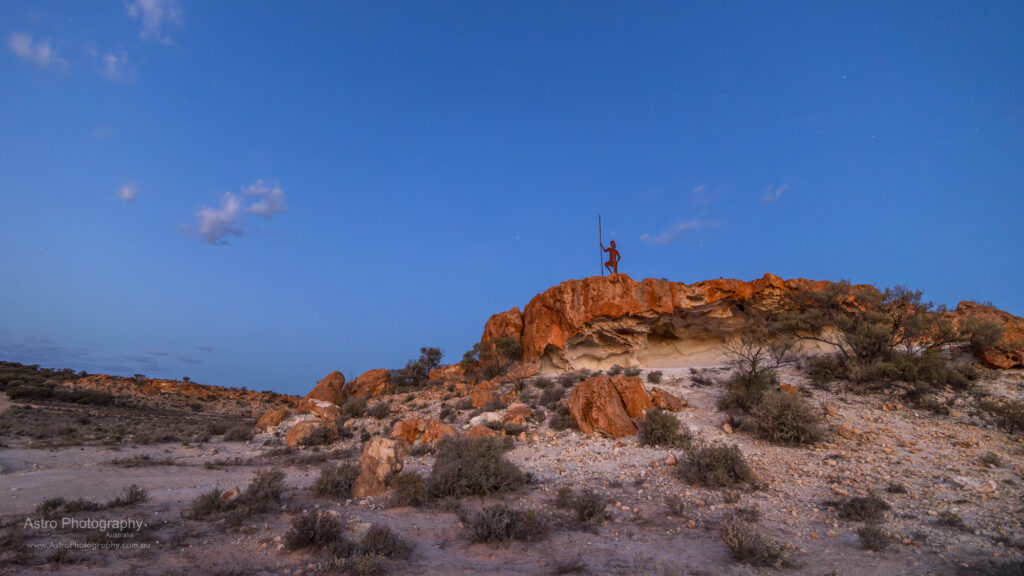
The Granites is breakaway landscape. Erosion of the ancient landscape leaves flat topped hills with a drop-off on one side, known as the breakaway. The colours in the earth vary from white through to rich reds.

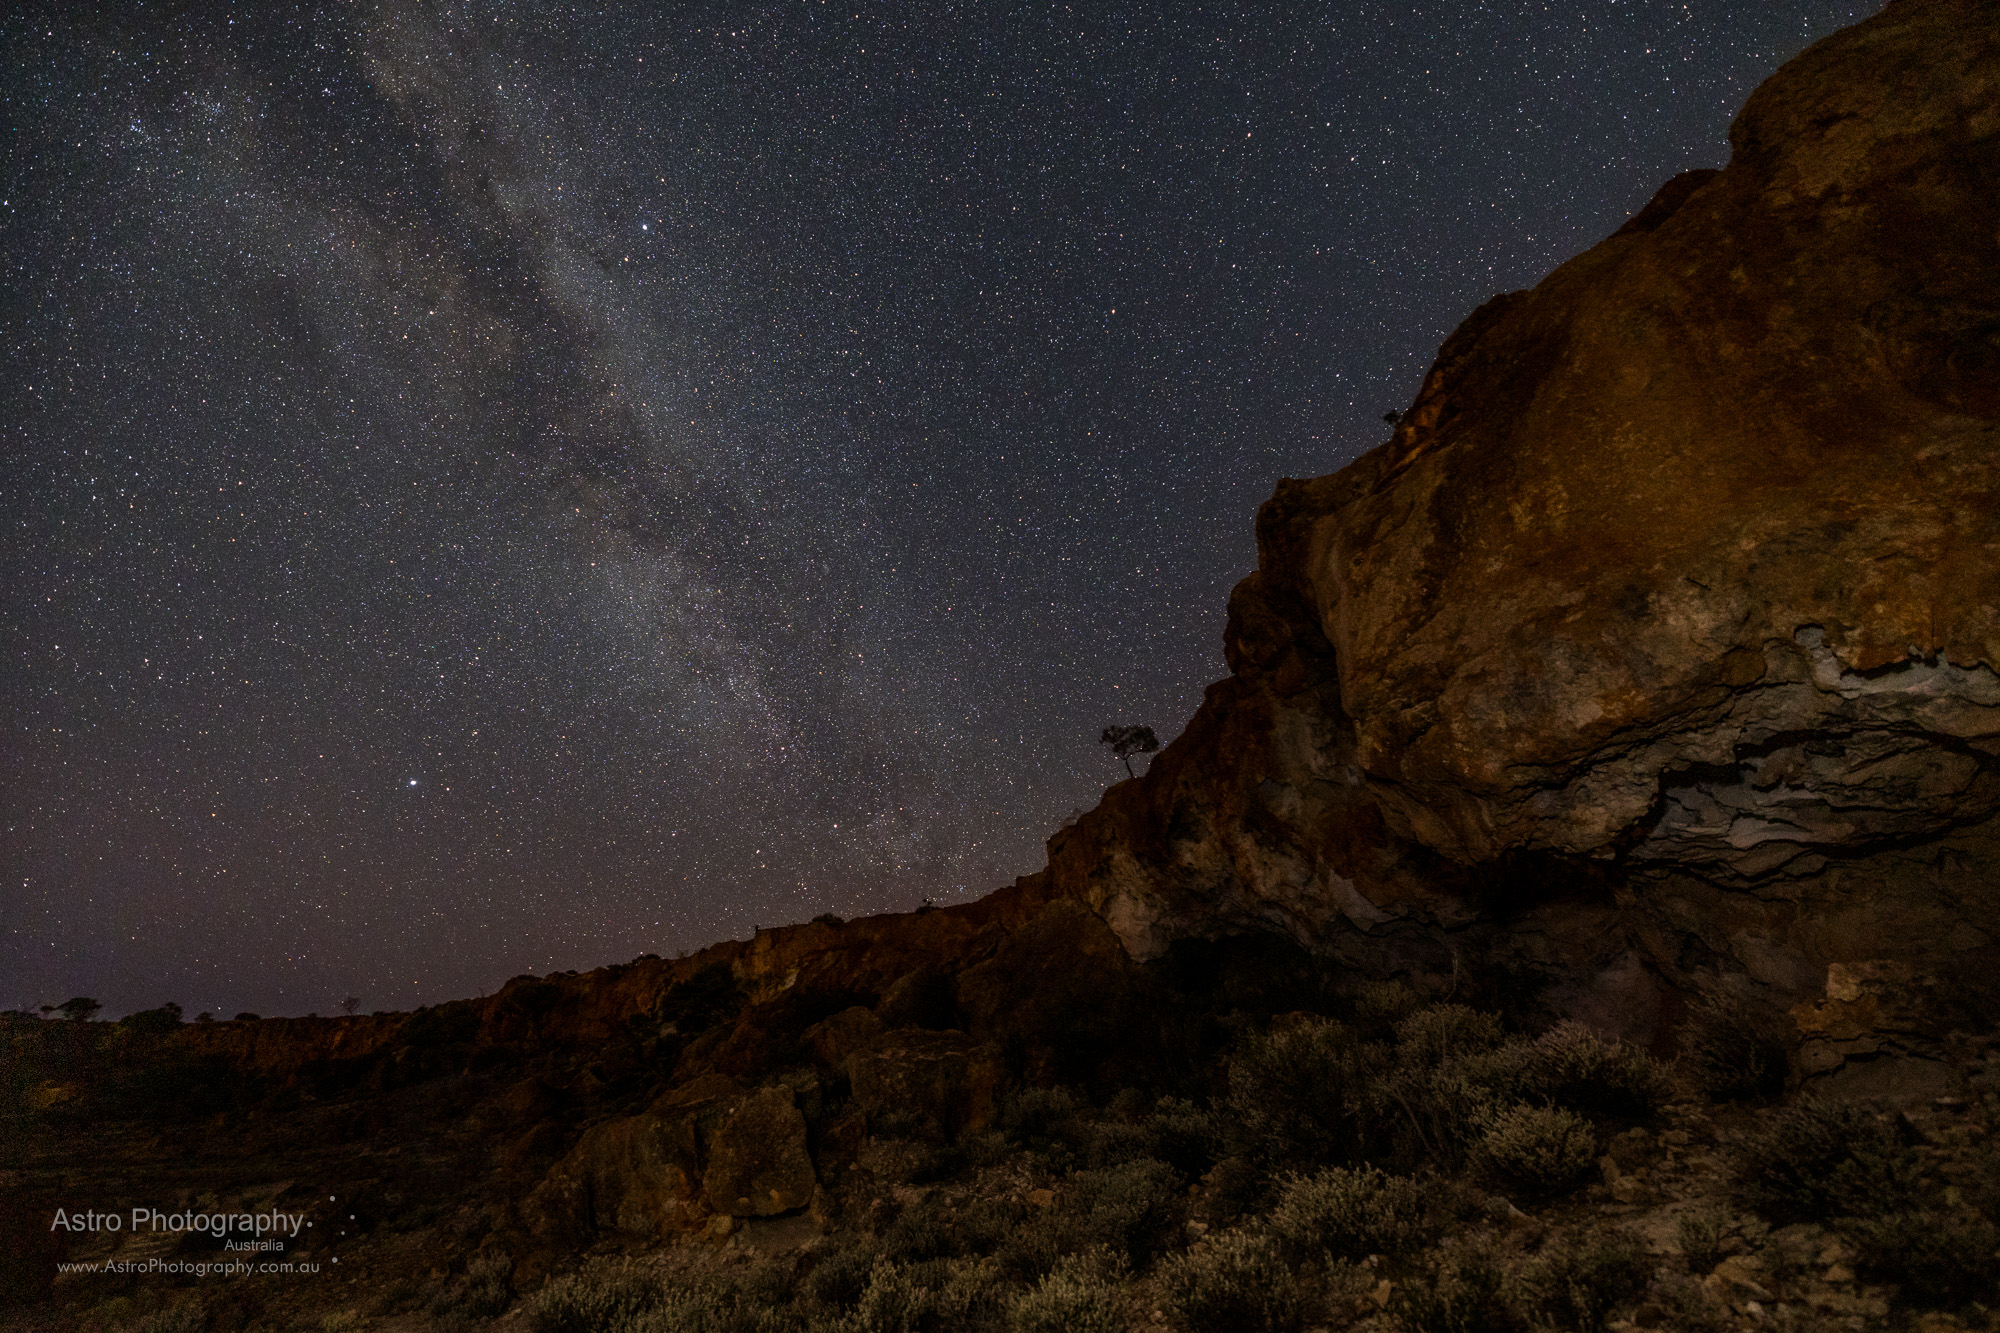
Astrophotography of the breakaways I do find challenging, a fun challenge, because they typically present a very “one sided” subject. If the sky is in the right place for that cliff face, it works well, if not, it’s a battle to nowhere. I think The Granites would be best photographed in March-May when the Milky Way will be in the east and so behind more of the breakaway faces, and in the opposite side of the sky to the majority of mine light pollution in Mount Magnet.

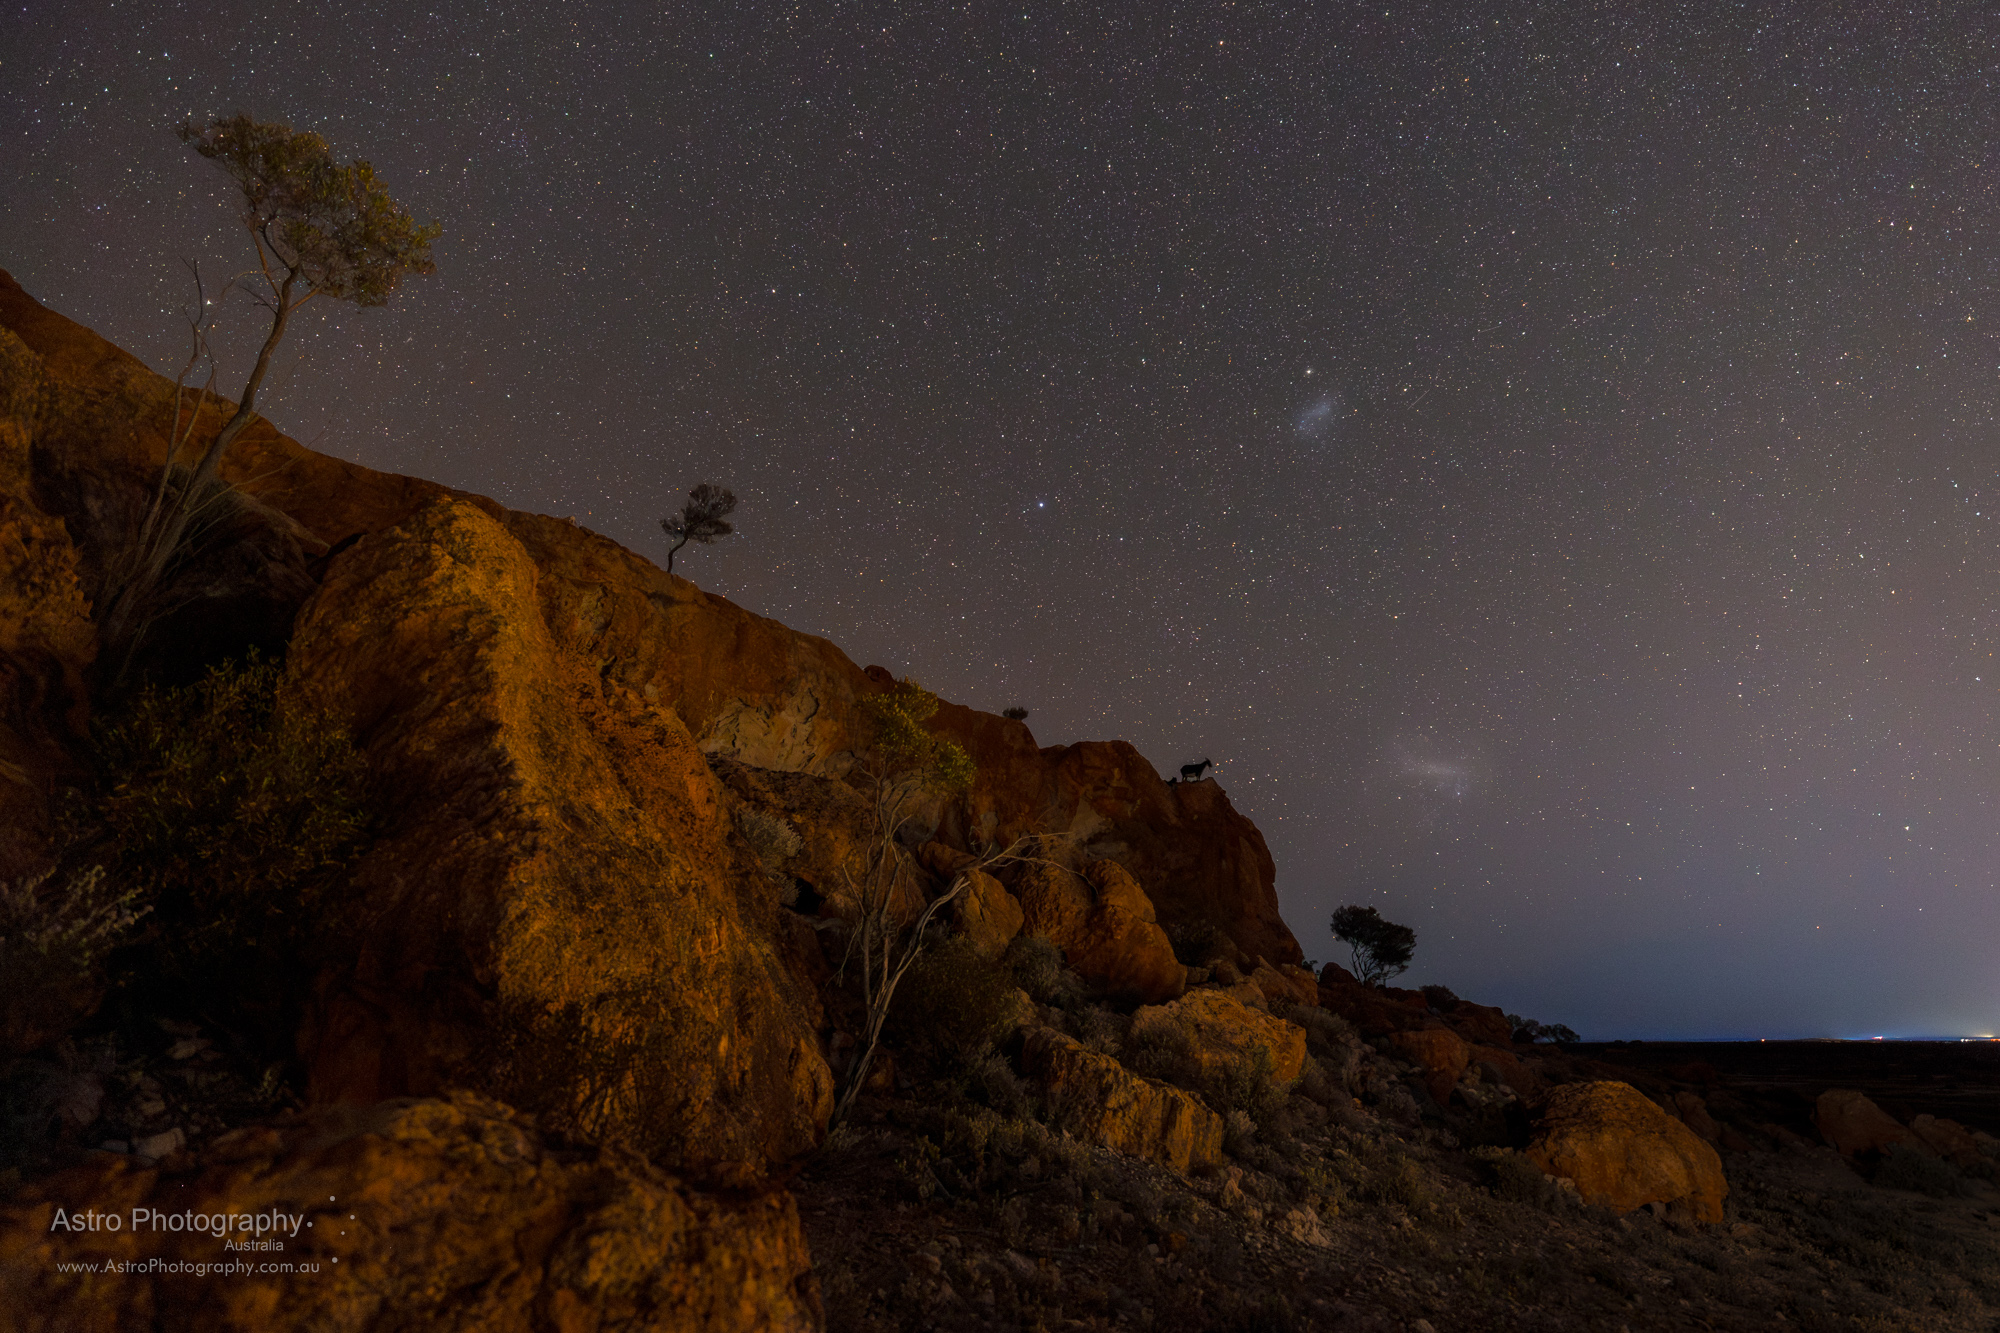
Here are some nightscapes from the workshop night. I suppose as per my typical style I have tried to leave the subjects fairly “natural”. Perhaps you can see the potential if spending more time on ones own to concentrate on composition and acquiring more data.

For me there was a couple of challenges on this workshop night. For some reason the auto focusing on my R6 wasn’t working. This has in the past been quite reliable, but I had my camera in “daytime mode” from a previous daytime shoot so there’s a setting I haven’t flicked back, I presume, something to look at in daylight. And the other challenge is age! I am working through testing contact lenses in the hope of bringing back some efficiency to my nightscapes astrophotography – I find using glasses with a camera for astrophotography a jarring experience – constant switching between having the glasses on or off, looking through view finder or at screen, compounded by head torches and working with unfamiliar cameras of participants. Hopefully the contact lenses will be the long term solution.

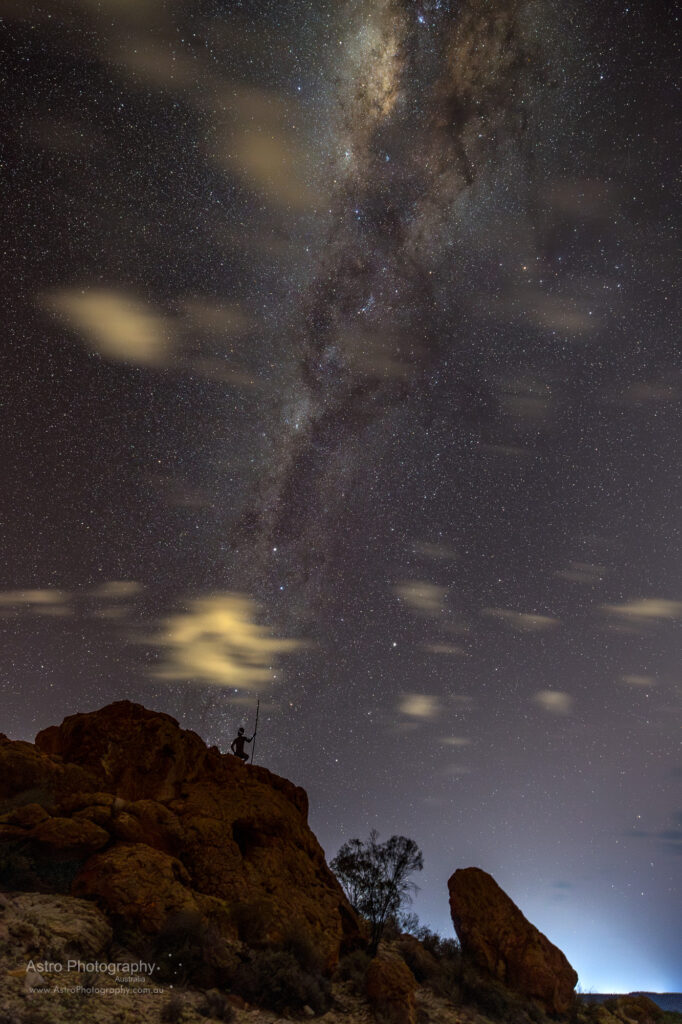
The Granites indigenous sculpture and Milky Way.

Solar Filters for Photography

I’ve been asked what solar filter I would recommend for photographing the upcoming Total Solar Eclipse in Exmouth on the 20th April 2023. I thought, why not write a blog post for the benefit of everyone!

The need for a solar filter

The single most important consideration is that you purchase a certified solar filter and use that on your camera/telescope. An unfiltered telescope will likely cause permanent damage to person or equipment.

The only time you do not need a solar filter is during the totality phase of a total solar eclipse if you are directly in the line of totality. During that time you remove the solar filter and you need to be well organised and diligent to put the solar filter(s) back in place prior to totality ending.

What solar filters do I use?

I use all Baader Solar Film filters. Aside from some Hydrogen Alpha (Ha) filters and white light glass filters that I have borrowed extensively from the Astronomical Society of Western Australia in the past and used at the Perth Observatory in more recent times, I have always used the Baader Solar Film. I do not do enough solar photography to justify the purchase of a photographic Ha solar telescope or filter.

Why do I choose Baader Solar Film?

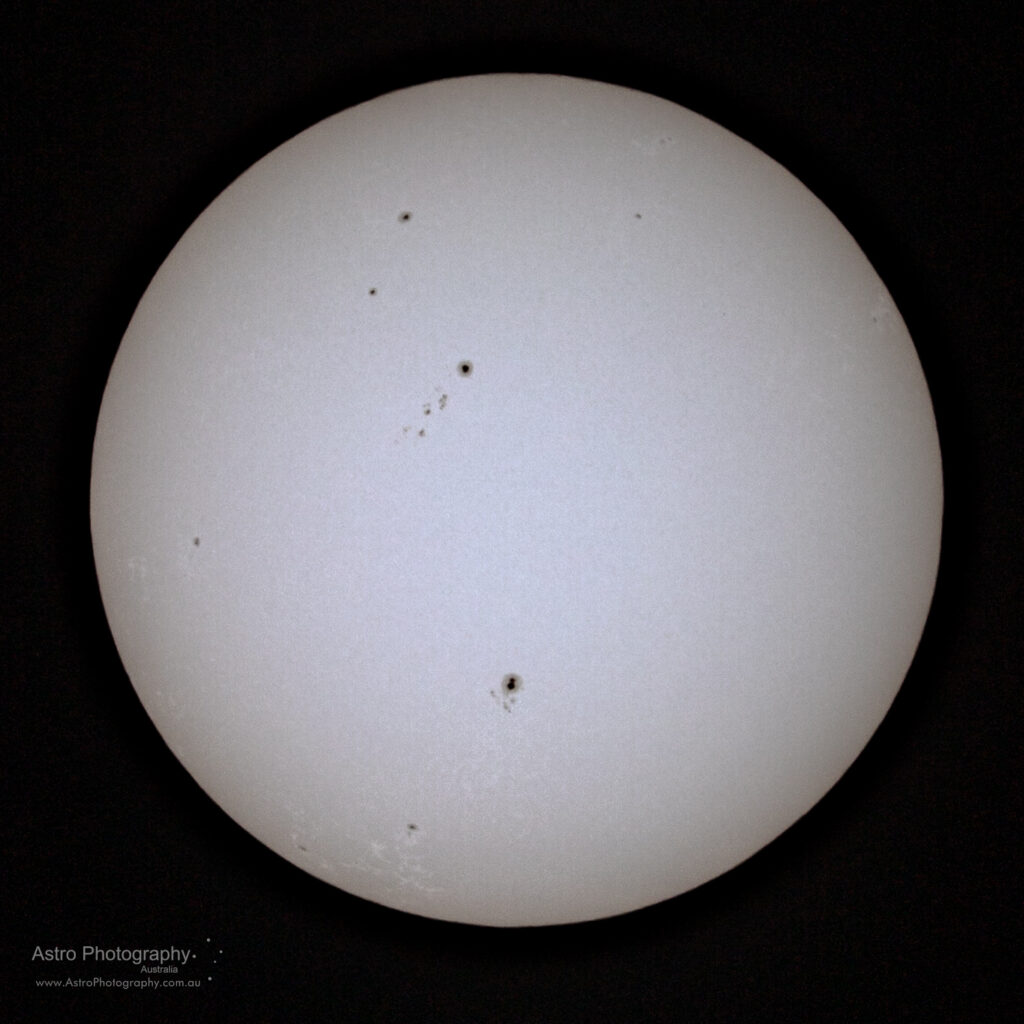
  • It gives me fantastic high resolution white-light images, full of solar surface detail.
  • I see more detail in my photographs than I see in some white-light glass filters, and conversely I do not see more detail in any glass white light filters than I see in my photographs (for the same given focal length/optical quality).
  • The Baader Solar Film is adaptable – I can cut it to size for the equipment I have
  • It lasts. I have not had any problems with degredeation, holes, cuts, or other deterioration.
  • It’s affordable
  • it’s light weight

How do I use the Baader Solar Film?

Rather than apply/stick/adhere the solar film directly on to my equipment I make holders/caps/sleeves which I make the Baader Solar Film a part of, and then I take those filters on/off as required.

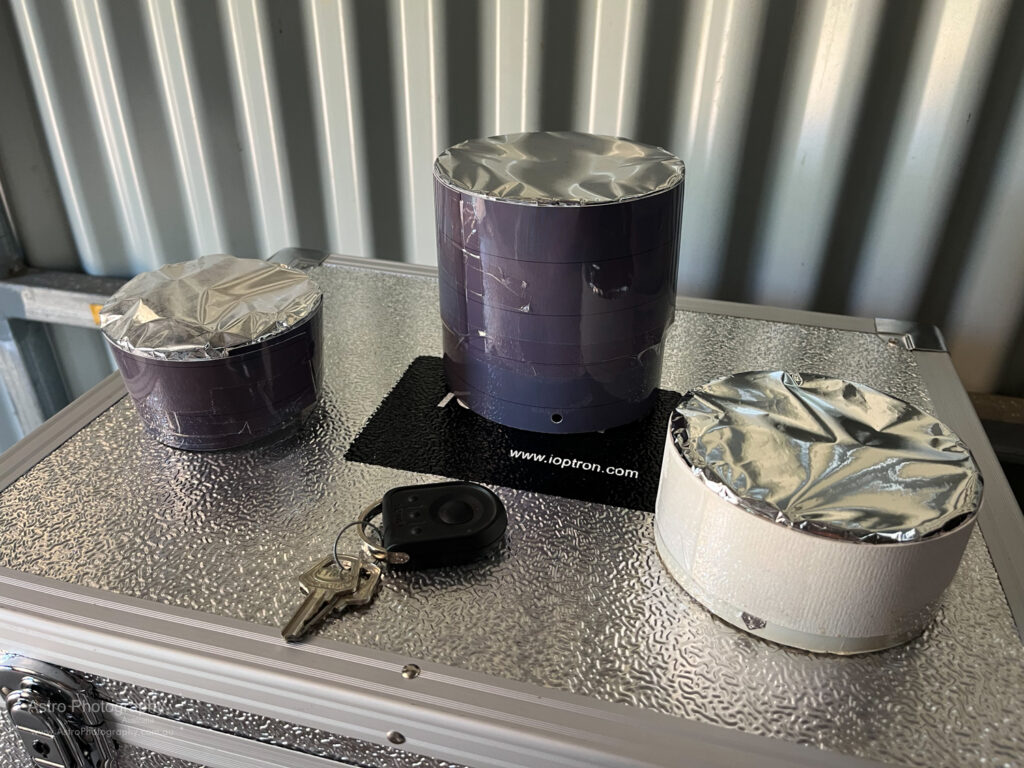
Below are three of my filters. These are for (smallest to biggest) my:

  • Canon 70-200 F/4 lens, to fit over the lens shade.
  • William Optics Megrez 80 SD refractor, to fit over the permanently attached dew shield
  • William Optics Megrez 90 APO refractor, to fit over the permanently attached ew shield
Baader Solar Film filters

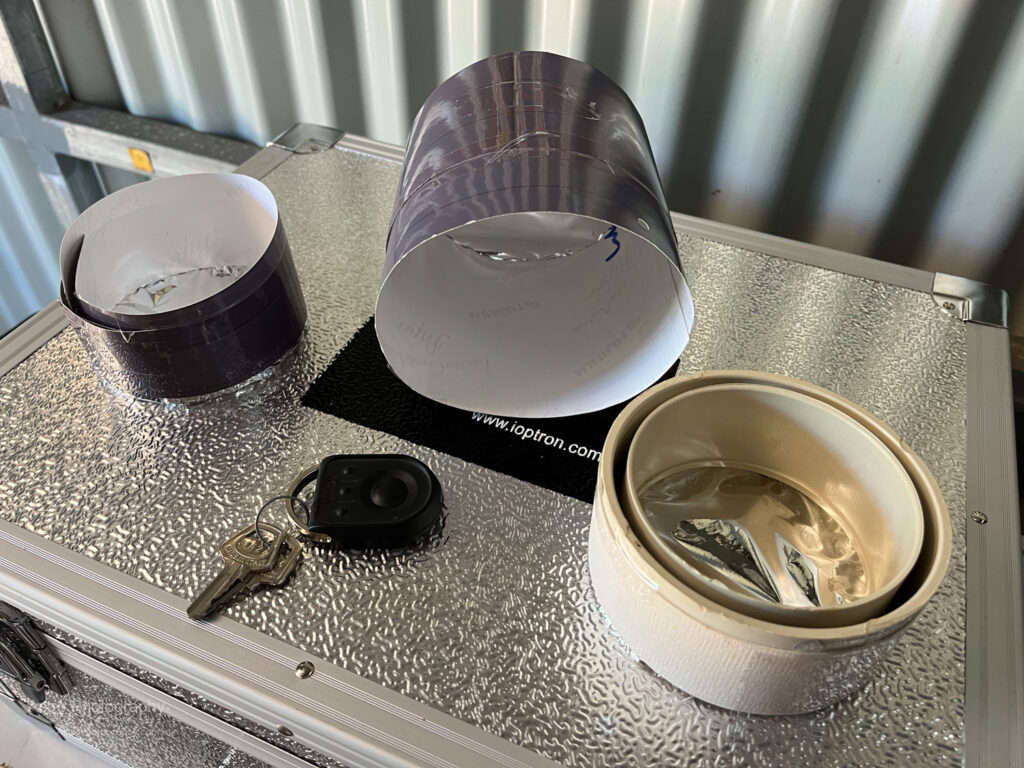
You can see in the above photographs I have a mixture of plastic coated paper and PVC pipe fitting used.

  • The plastic coated paper does not deteriorate with a little moisture, is rigid and a snug fit over the telescope/lens optical tube/shade.
  • The PVC approach I particularly like, because it is rigid and strong, and fits perfectly over the applicable Megrez 80 and also the lens shade of the Canon 70-200 if I don’t have the other smaller filter.
  • Use self adhesive felt to make adjustments of your filter holder to be a snug fit on your telescope.
  • Use Velcro or tape to ensure your solar filter stays attached to your telescope in windy conditions.

Before use I always inspect the filters for damage. In particular, pin rick holes. Like I mentioned earlier I’ve never found any but it’s worth checking.

When attaching the filters it’s worth doing so gently and slowly. You can find that if you have a tight fit of your OTA there can be some air pressure as you push the filter on, and you don’t want that to place undue stress on the solar filter, so just easy does it. Same for taking it off.

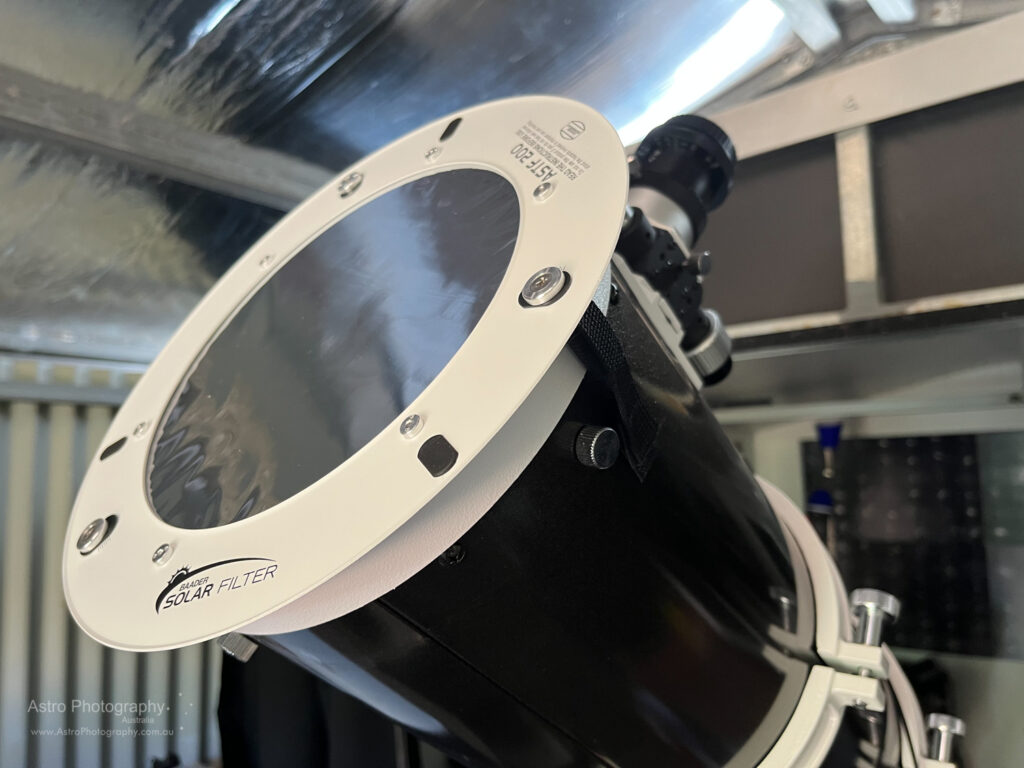
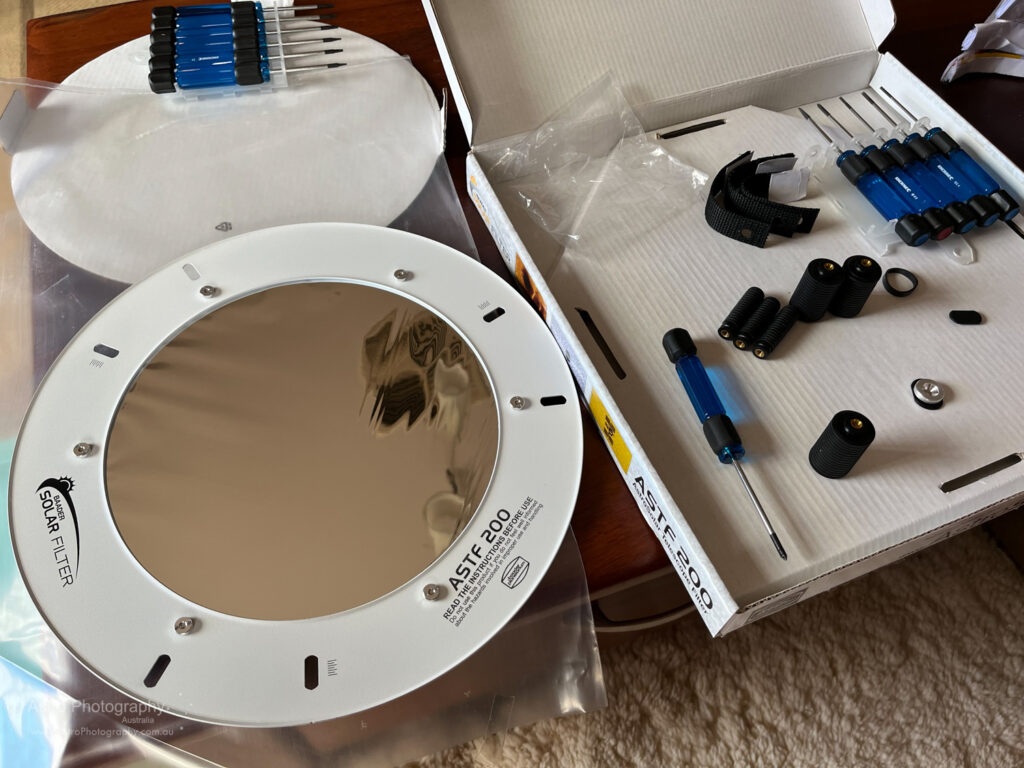
I also have a Baader solar filter which was purchased as a pre-made unit, for my 8″ SkyWatcher Quattro telescope. This one has worked out particularly well. It grips well, has Velcro strips to double make sure it stays on, and it’s a nice rigid yet adaptable construction. It is shown below.

Storage of Solar Filters

One of the reasons I have had such success with my filters and they have lasted so long, is that I store them well and treat them with care.

Each filter is kept in it’s own Tupperware/Decor plastic container which fits snugly but not too tight, in a way that the solar film is protected by the hard surface of the container but at the same time does not touch any surface. Almost any container will do, but you need to make sure you store your filter in a way it will not get damaged.

Where to buy solar filters for solar photography?

Buy Baader Solar Film and other solar filters from a reputable telescope/astronomy store. Some of these in Australia which I would recommend include:

Happy solar photography-ing!

Aurora Australis, again! Feb 27th 2023

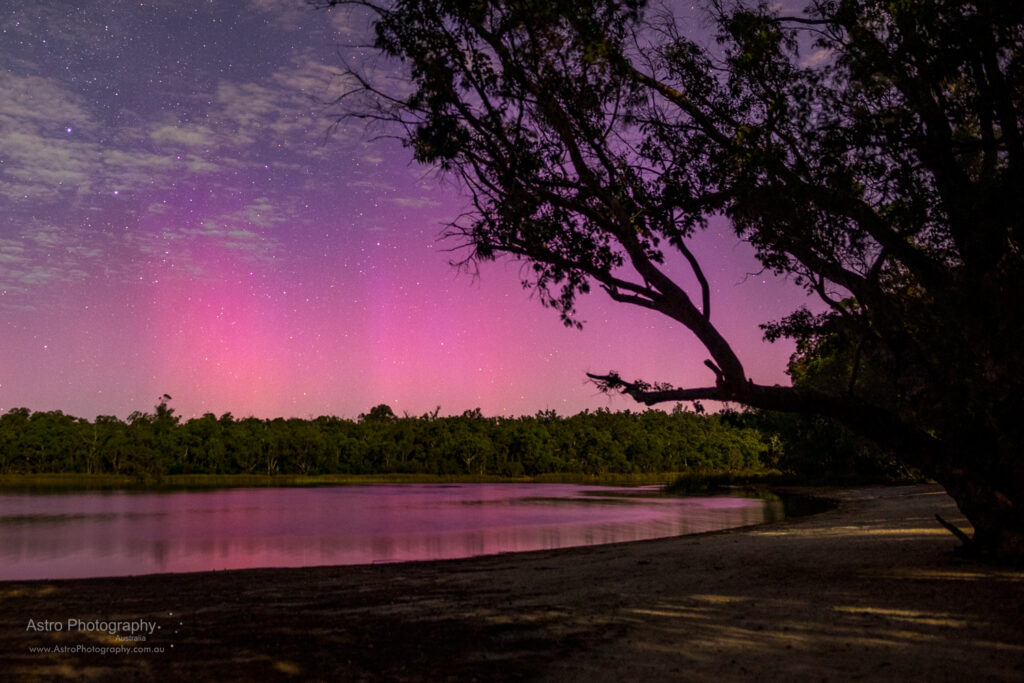
On the evening of 27th Feb 2023 we were spoiled to a great showing of Aurora Australis, as visible from Perth, the South-west of Western Australia, and even further north of Perth!

Aurora Australis photographed from Lake Leschenaultia in Chidlow, Western Australia. (Canon R6)

I’ve been doing astrophotography from Lake Leschenaultia since 2009 and this is one of several shoots for Aurora there over that time. It’s a convenient location in my local area, and one people from the broader metro area of Perth are coming to know for astrophotography.

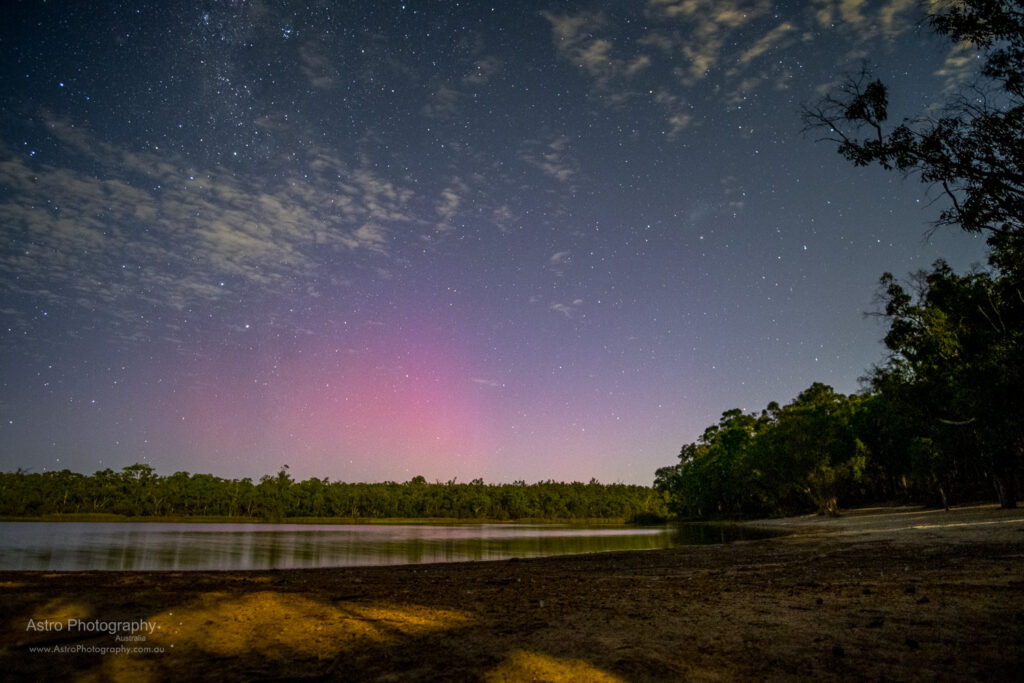
For this night I was using both my Canon R6 with Samyang 24mm F/1.4 lens and my Fuji X-T30 with Samyang 12mm F/2.0 lens. I only had the Fuji set up second, towards the end of the aurora being visible, so didn’t capture so much on the Fuji.

With the 12mm F/2.0 the Fuji was at a wider field of view than the R6, and further more I cropped the R6 shots down to exclude some distracting scenery on the left of image. This is why the aurora appears smaller in the Fuji exposures.

Aurora Australis photographed from Lake Leschenaultia in Chidlow, Western Australia (Fuji X-T30)

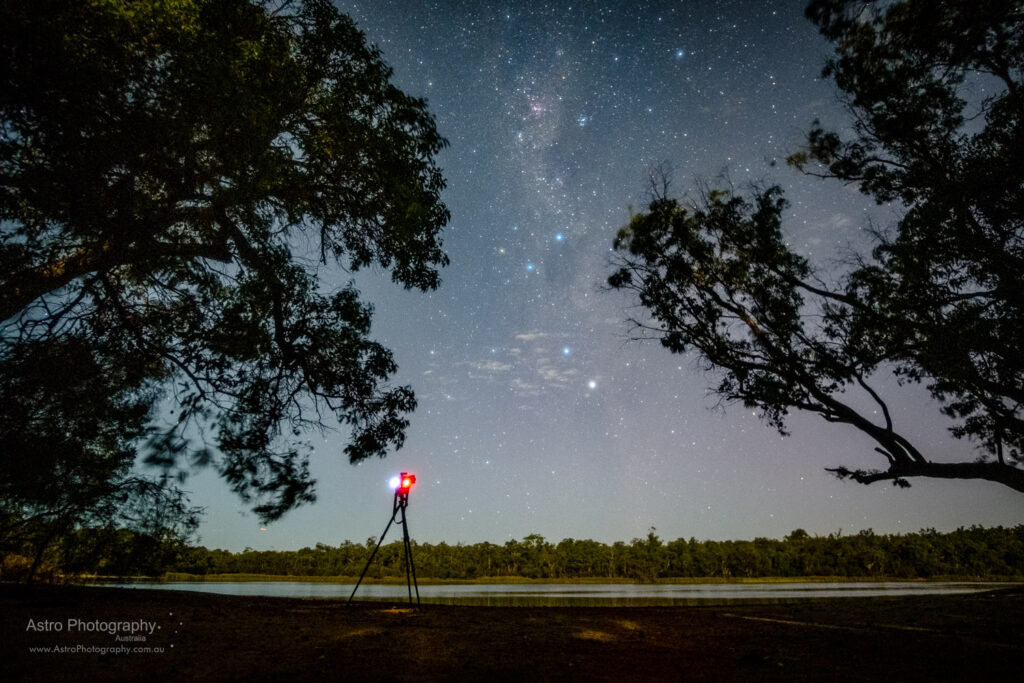
Here is a shot taken with the Fuji almost at ground level showing the Canon R6 in action doing astrophotography. Even in this later exposure there is a hint of the aurora bars visible on the southern horizon, just barely.

Faint aurora visible beyond my Canon R6 which was photographing at the time. (Fuji X-T30)

For more of my Aurora Australis astrophotography over the years, and for information on photographing Aurora Australis, take a look at my page of aurora australis astrophotography.

Learn Astro photography

Do you want to learn how to photograph aurora australis? I frequently run workshops, often one-on-one, for people in Western Australia wanting to travel overseas for aurora photography. Find out more at my Astro Photography Australia website.

An update ot my workshop rig

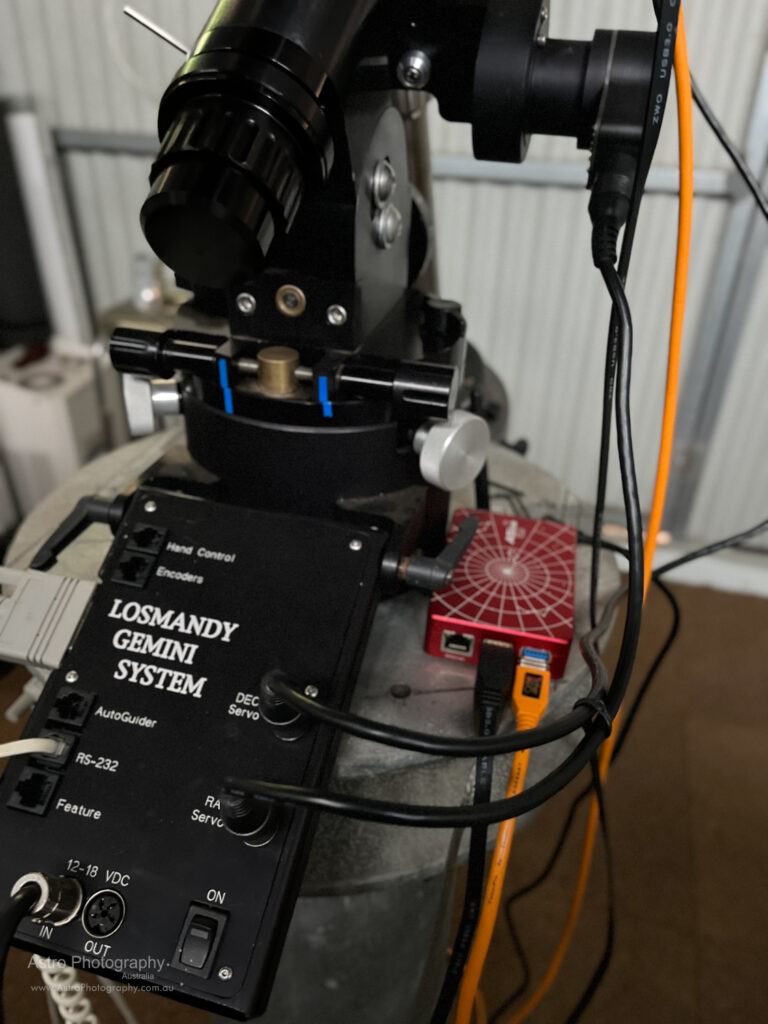
I own a set of telescope equipment I have accumulated since 2005 which at first was my personal portable telescope gear and in recent years has been primarily used for workshop participants using their own cameras for astrophotography. This has been my Losmandy GM8 with William Optics Megrez 90 refractor and ZWO 130mm guide scope.

In 2022 I decided it was time to change this setup used for workshop participants. A few considerations coming in to the mix were:

  • My Megrez 90 has become a more permanent fixture at my dark sky observatory and bringing it back for workshops is a time killer (both retrieving it and the work to re-calibration the permanent dark sky setup).
  • I would like a faster focal ratio to achieve more for my participants quicker
  • I have become a little tired of the ~600mm focal length range telescopes, and want something a little longer but still manageable on a small mount.
  • I needed to improve the setup time – making it quicker to polar align, guide, and get going with exposures longer than 30 seconds.
  • My new equipment needs to be at an amateur astronomer achievable price point, for a mid level amateur, as this is what they’ll get to try using. There’s no point them testing out a premium OTA or mount when it’s not going to be affordable for most of my workshop participants.

My new telescope equipment

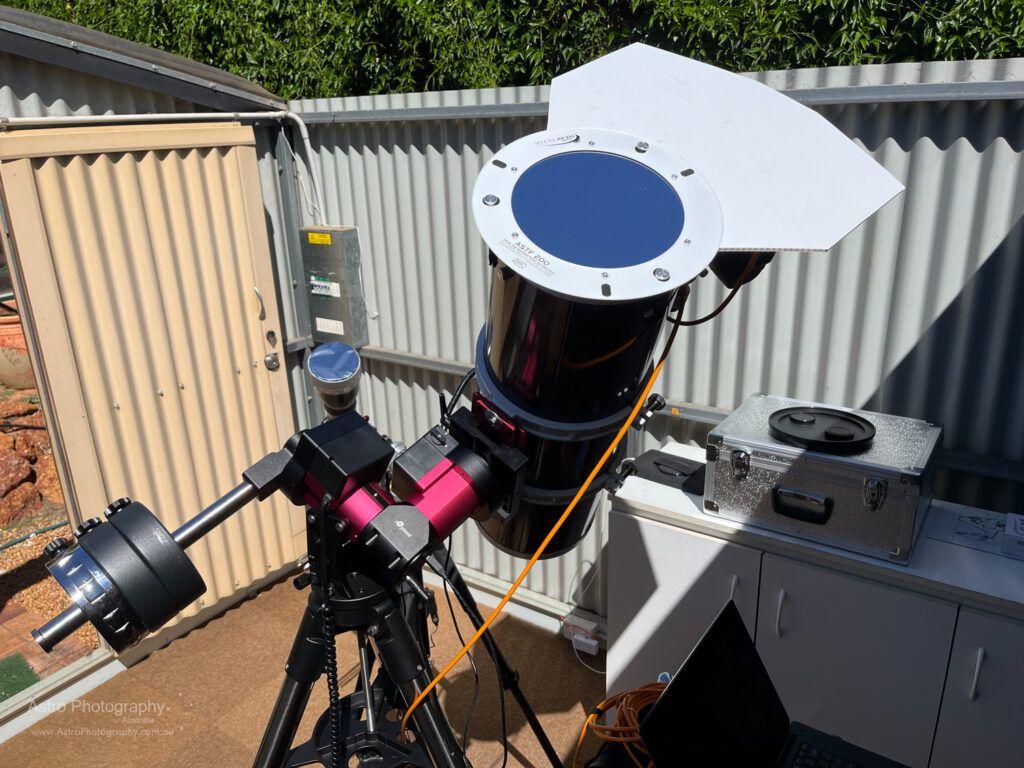
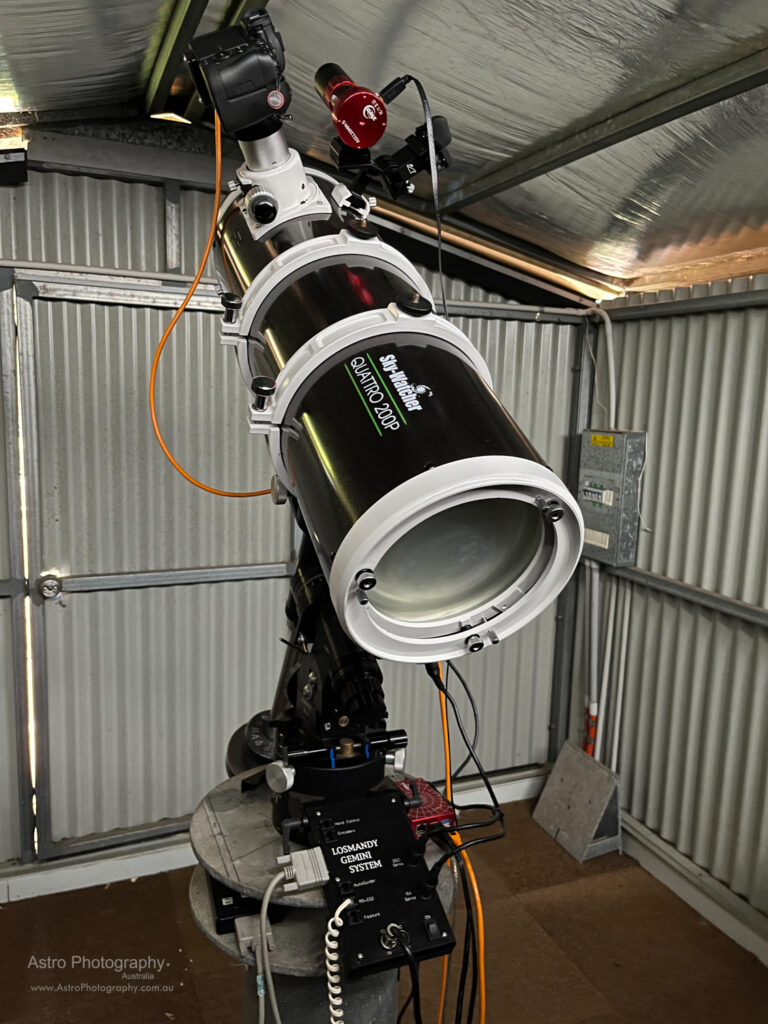
The set up so far looks like this:

  • Retain the Losmandy GM8, though am continuing to assess whether it needs to be replaced.
  • New Skywatcher Quattro 200mm (8″)
  • New Sharpstar MPCC
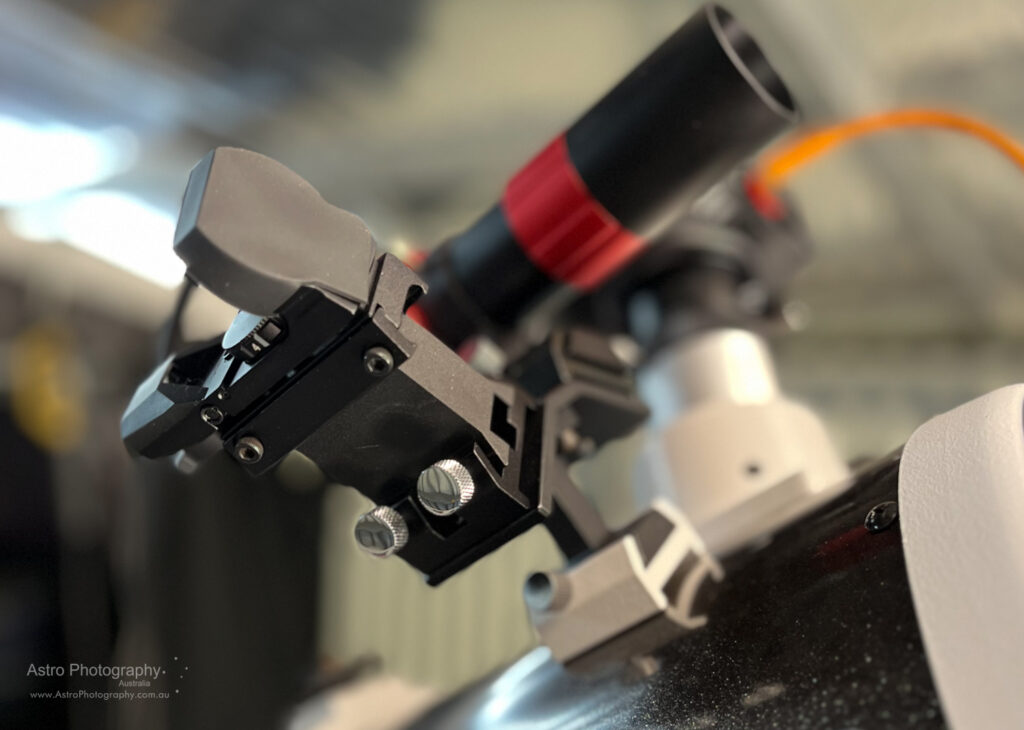
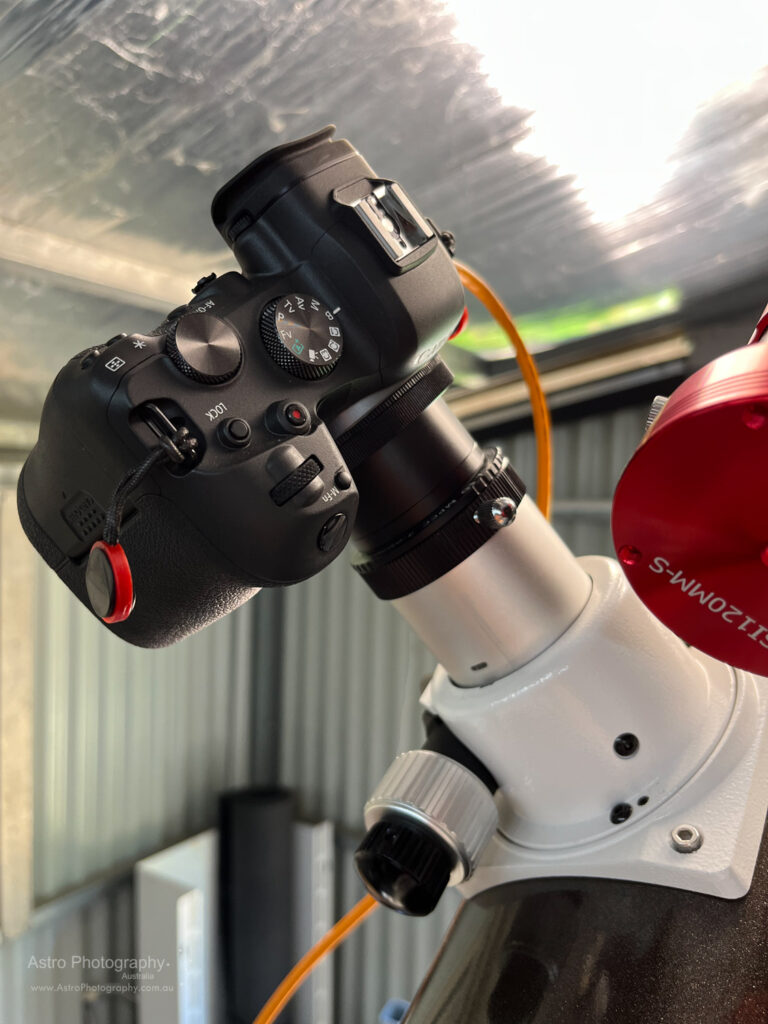
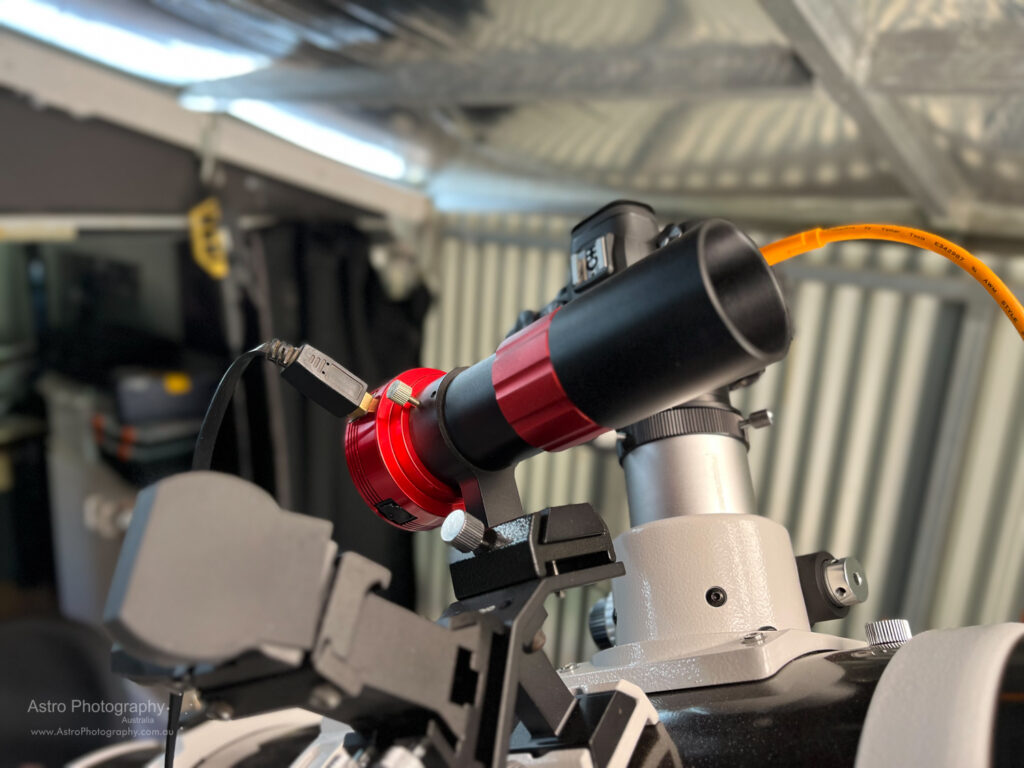
  • New ZWO 120MM guide camera
  • New ZWO ASIAir Plus
  • New William Optics red dot finder
  • New OCAL Electronic Collimator
  • New Prima Luce ESATTO 2″ electronic focuser
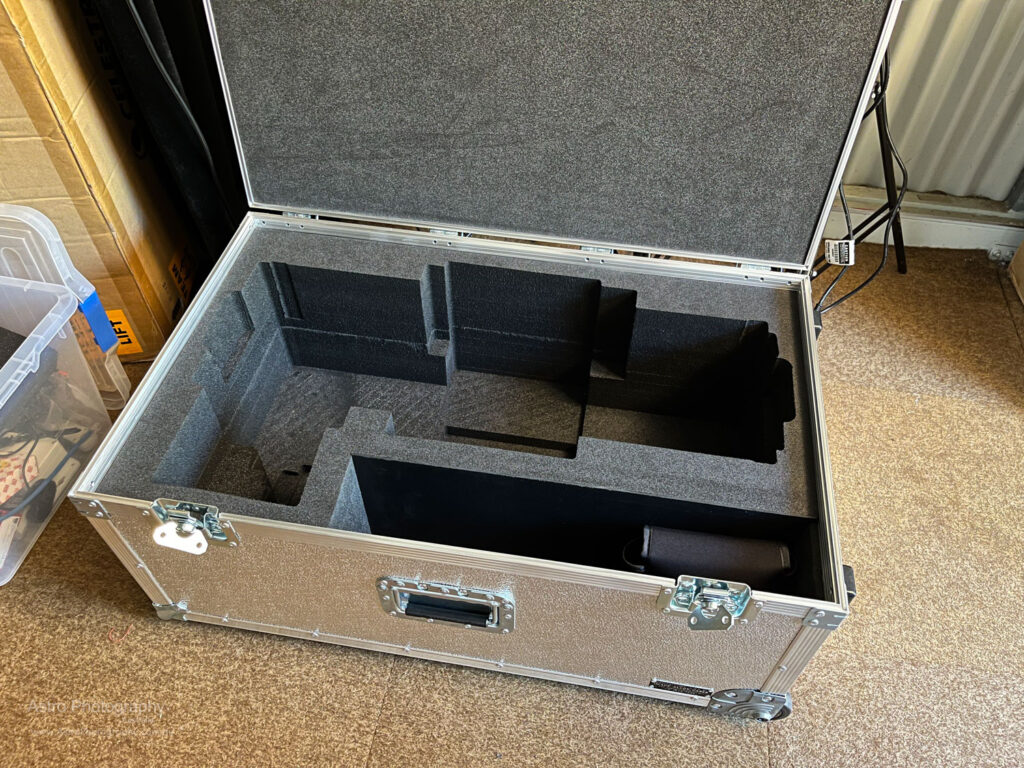
  • Custom made travel case for the Quattro with various accessories attached

I’ll introduce these to you over a few blog posts and talk about some learnings and improvements/changes yet to be made.

Here below are some pictures to bring you up to speed. The equipment is currently spending most of it’s time set up in my backyard observatory which these days largely serves as a test bed for new equipment. Setting up the new equipment here allows me to make small tweaks now and then with minimal time commitment each time. 30 minutes testing guiding or collimation, or adapter spacing or focuser software, all goes a long way.

A new video!

You might be wondering why I have been so quiet? Well, I am still alive, and I am still shooting photography, although mostly astrophotography now. You will find more of my recent work at https://www.astrophotography.com.au

Here is an astrophotography timelapse video shot in February 2019 from my wheatbelt property. This video features the Milky Way rising, along with the Moon and planets Venus and Saturn. Turn up your audio and enjoy the movie!

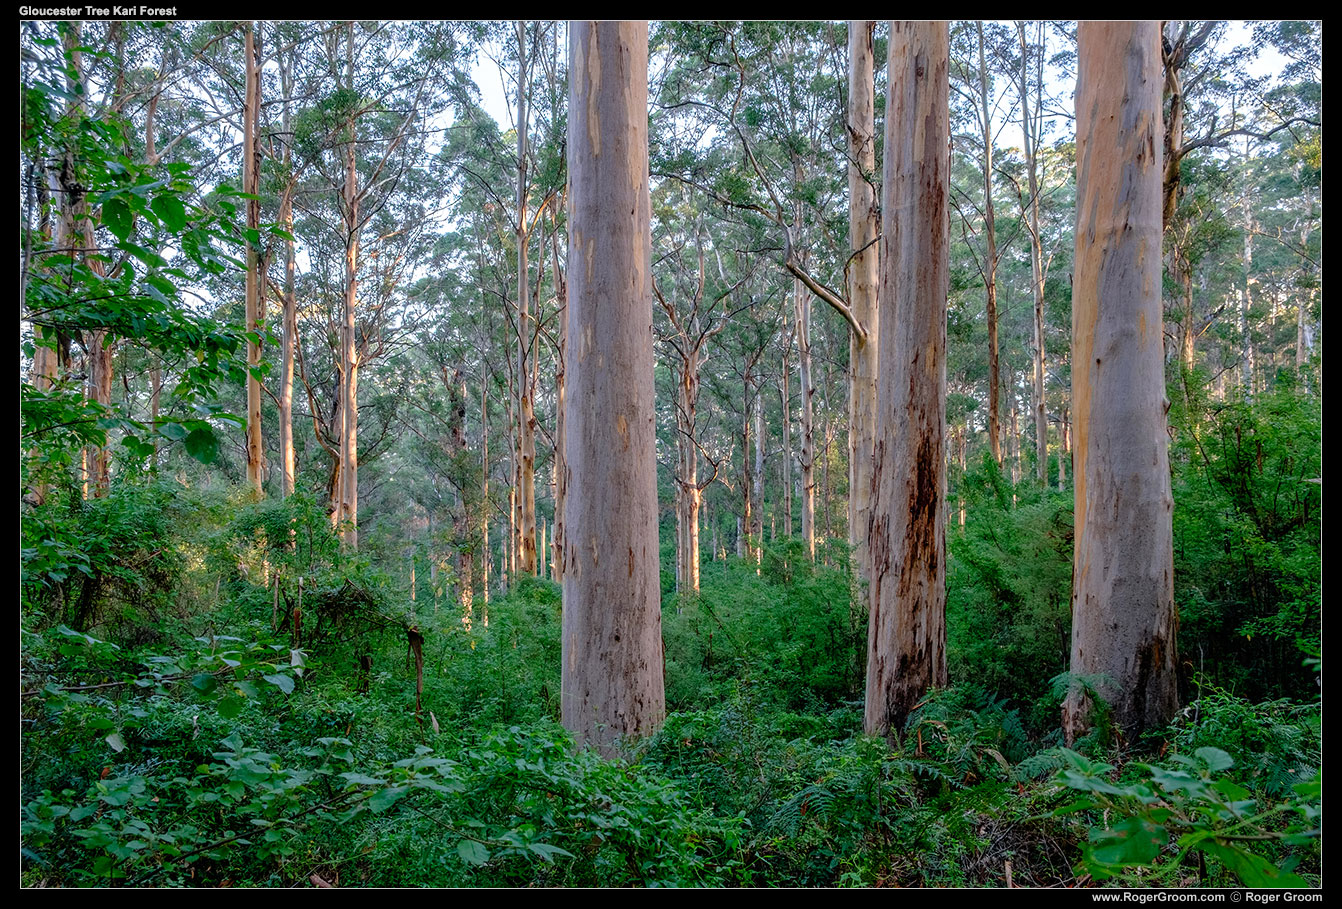
Gloucester Tree Kari Forest

Afternoon sunlight shining through the Kari Forest surrounding Gloucester Tree.

As the sun lowered in the sky on this late afternoon walk the last rays of warm sunshine are a contrast to the cooling forest. The damp starts to settle in and the warmth of a nearby cottage starts to call. This is the karri forest surrounding the Gloucester Tree in Pemberton and I’m sure this particular view is very familiar to many who walk the short tracks around the tree. I remember the exact scene from years ago. The scene may stay somewhat the same, but the lighting and person taking the photo changes constantly.

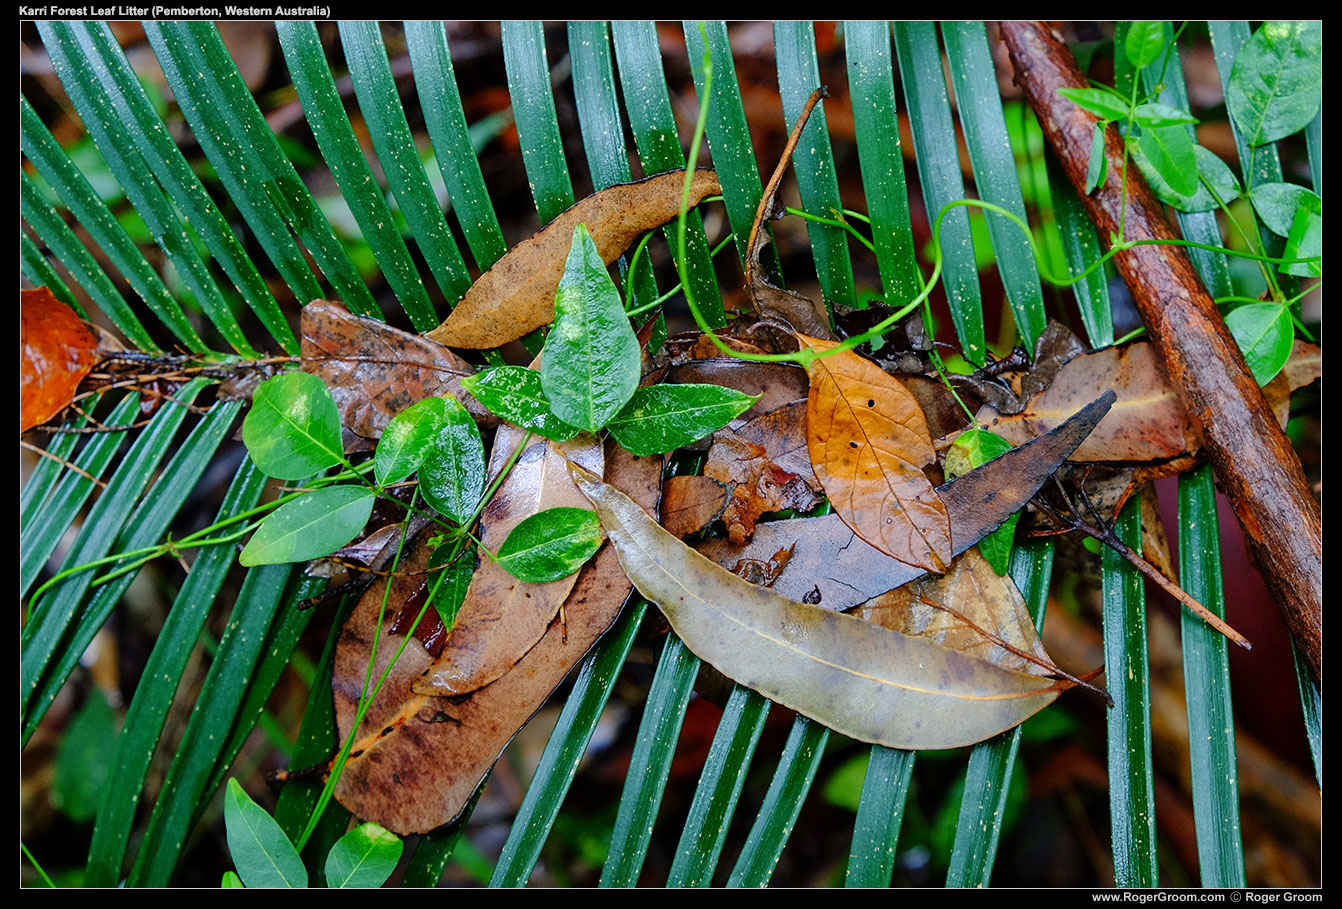
Karri Forest Leaf Litter

Karri Forest Leaf Litter (Pemberton, Western Australia)

I absolutely love the forest floor of the WA Kari Forests, and what better than to have the colour and detail of the leaf litter raised up to a more convenient height for photographing by a very obliging xamia palm leaf? It’s the glistening wet, the dynamic colour, the high saturation of the colours, it’s all there in the leaf litter.

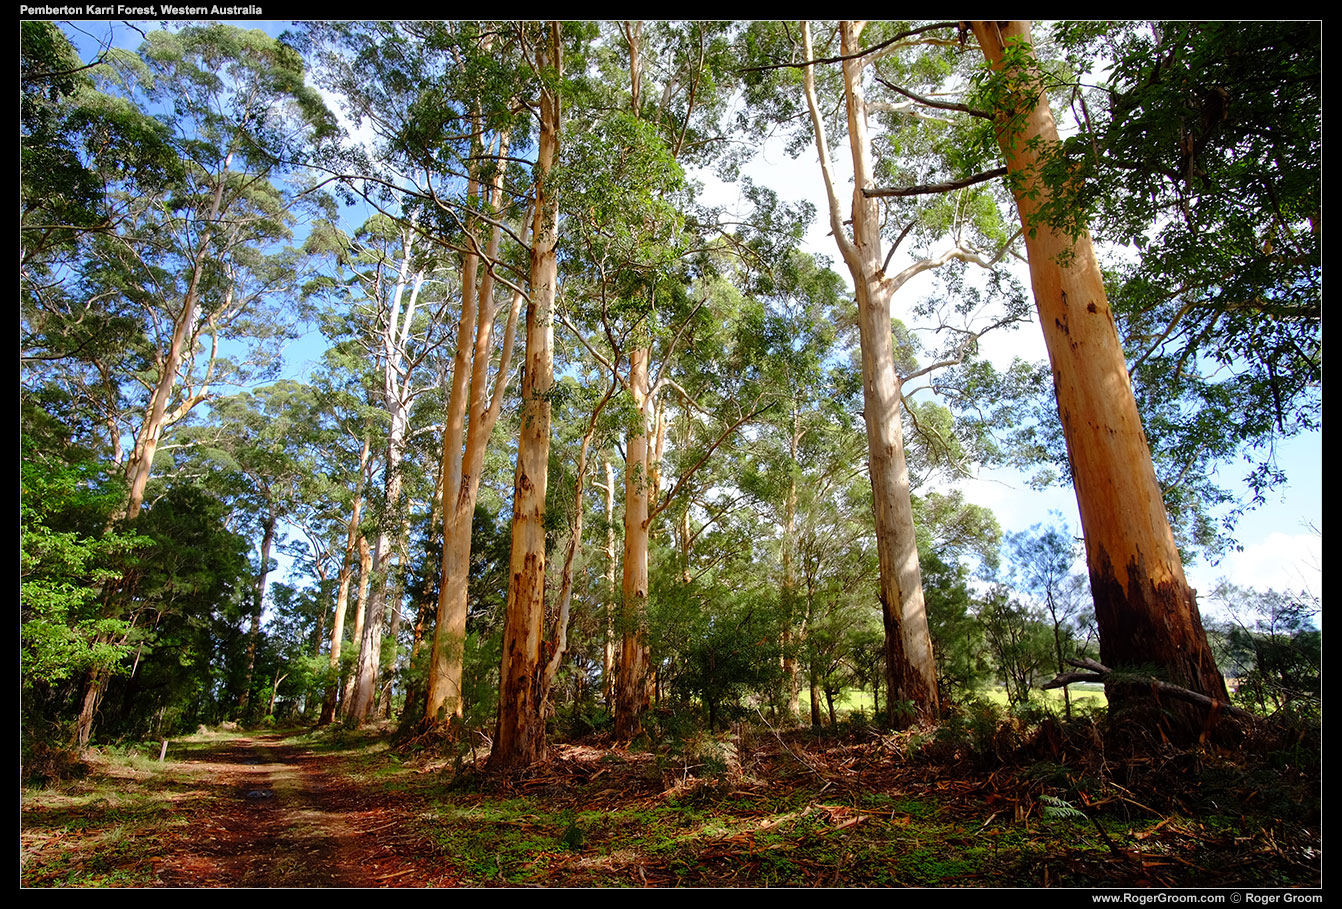
Edge of the Karri Forest

Karri Forest in Pemberton, Western Australia.

There were many good photographs captured in a recent (May 2017) family holiday to our frequent stomping ground of the Karri Forests of Pemberton, Western Australia. This one photograph I keep coming back to, least expected though I have to admit. I snapped the photograph when quickly walking back from a short walk around the Pemberton mountain bike tracks. The tracks weave up and down the hill side of Kari forest opposite the town. Generally I’d say it’s not the most picturesque of Karri forest spots but of course it still has photo opportunities.

This photograph is straight out of the camera with no editing at all. It was taken using my Fuji X-E2 in film simulation Velvia mode. Velvia is a throw back to film days, where I started with my photography. Many of the photographs on this website still are scanned images from my film photography days, using Velvia and Provia slide films which were my favorite. The latitude, colours and definition straight out of the Fuji X-E2 are often “wow” and just perfect. The lens is a 12mm Samyang.

I particularly like how this photograph give some perspective to the enormous height of the Karri trees, even relatively young ones like these. I would normally avoid the perspective given by this 12mm lens in this situation, but it has worked out well in this case. The patchy cloud and blue sky in the distance also works well for the image, giving some depth where you might ordinarily have just a uniform blue or cloudy sky. That same partly cloudy effect lets some nice warm sunlight shine through the trees from the neighbouring paddocks.

Back at Kalbarri

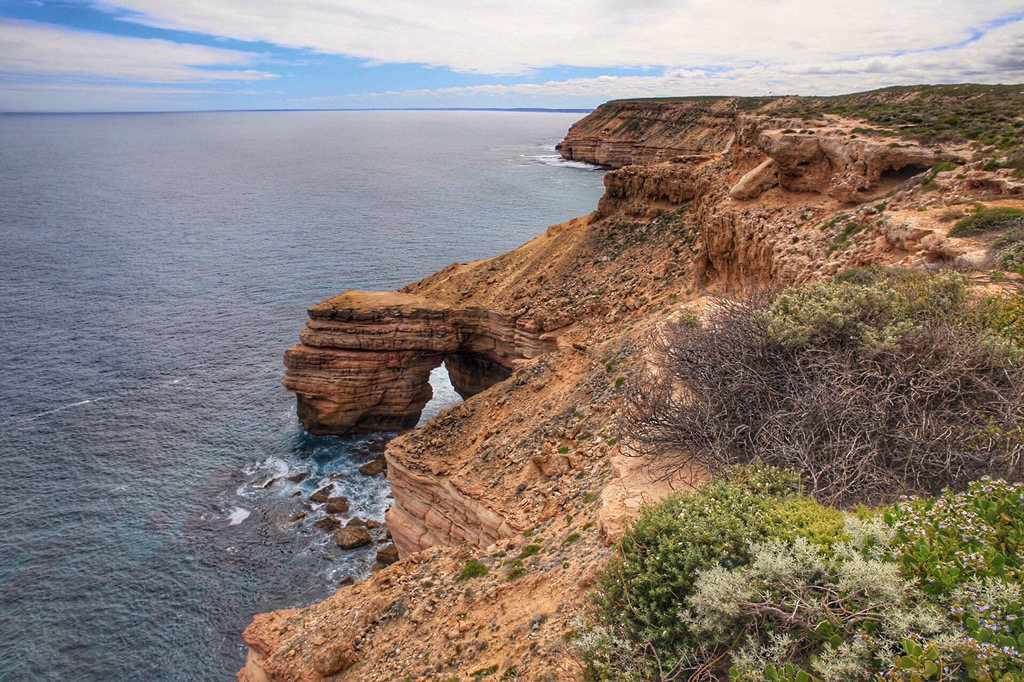
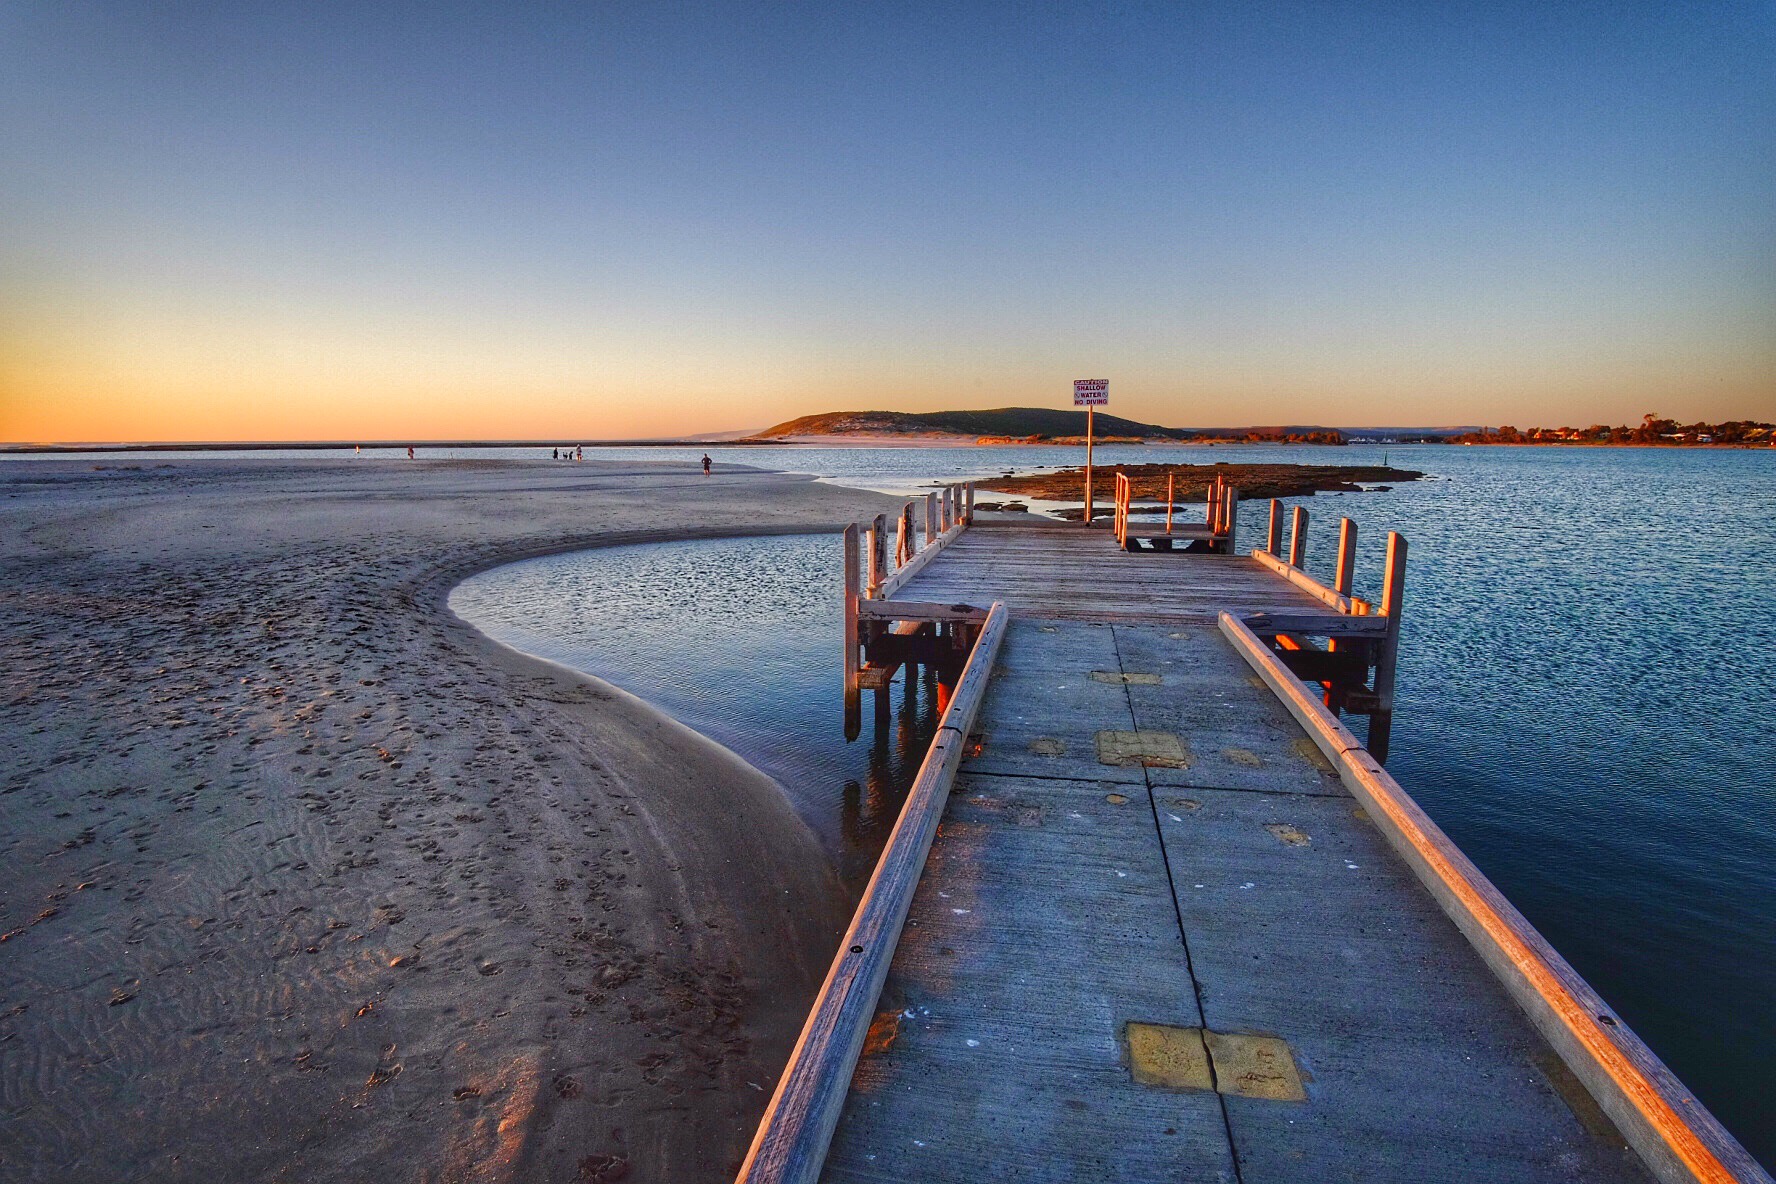
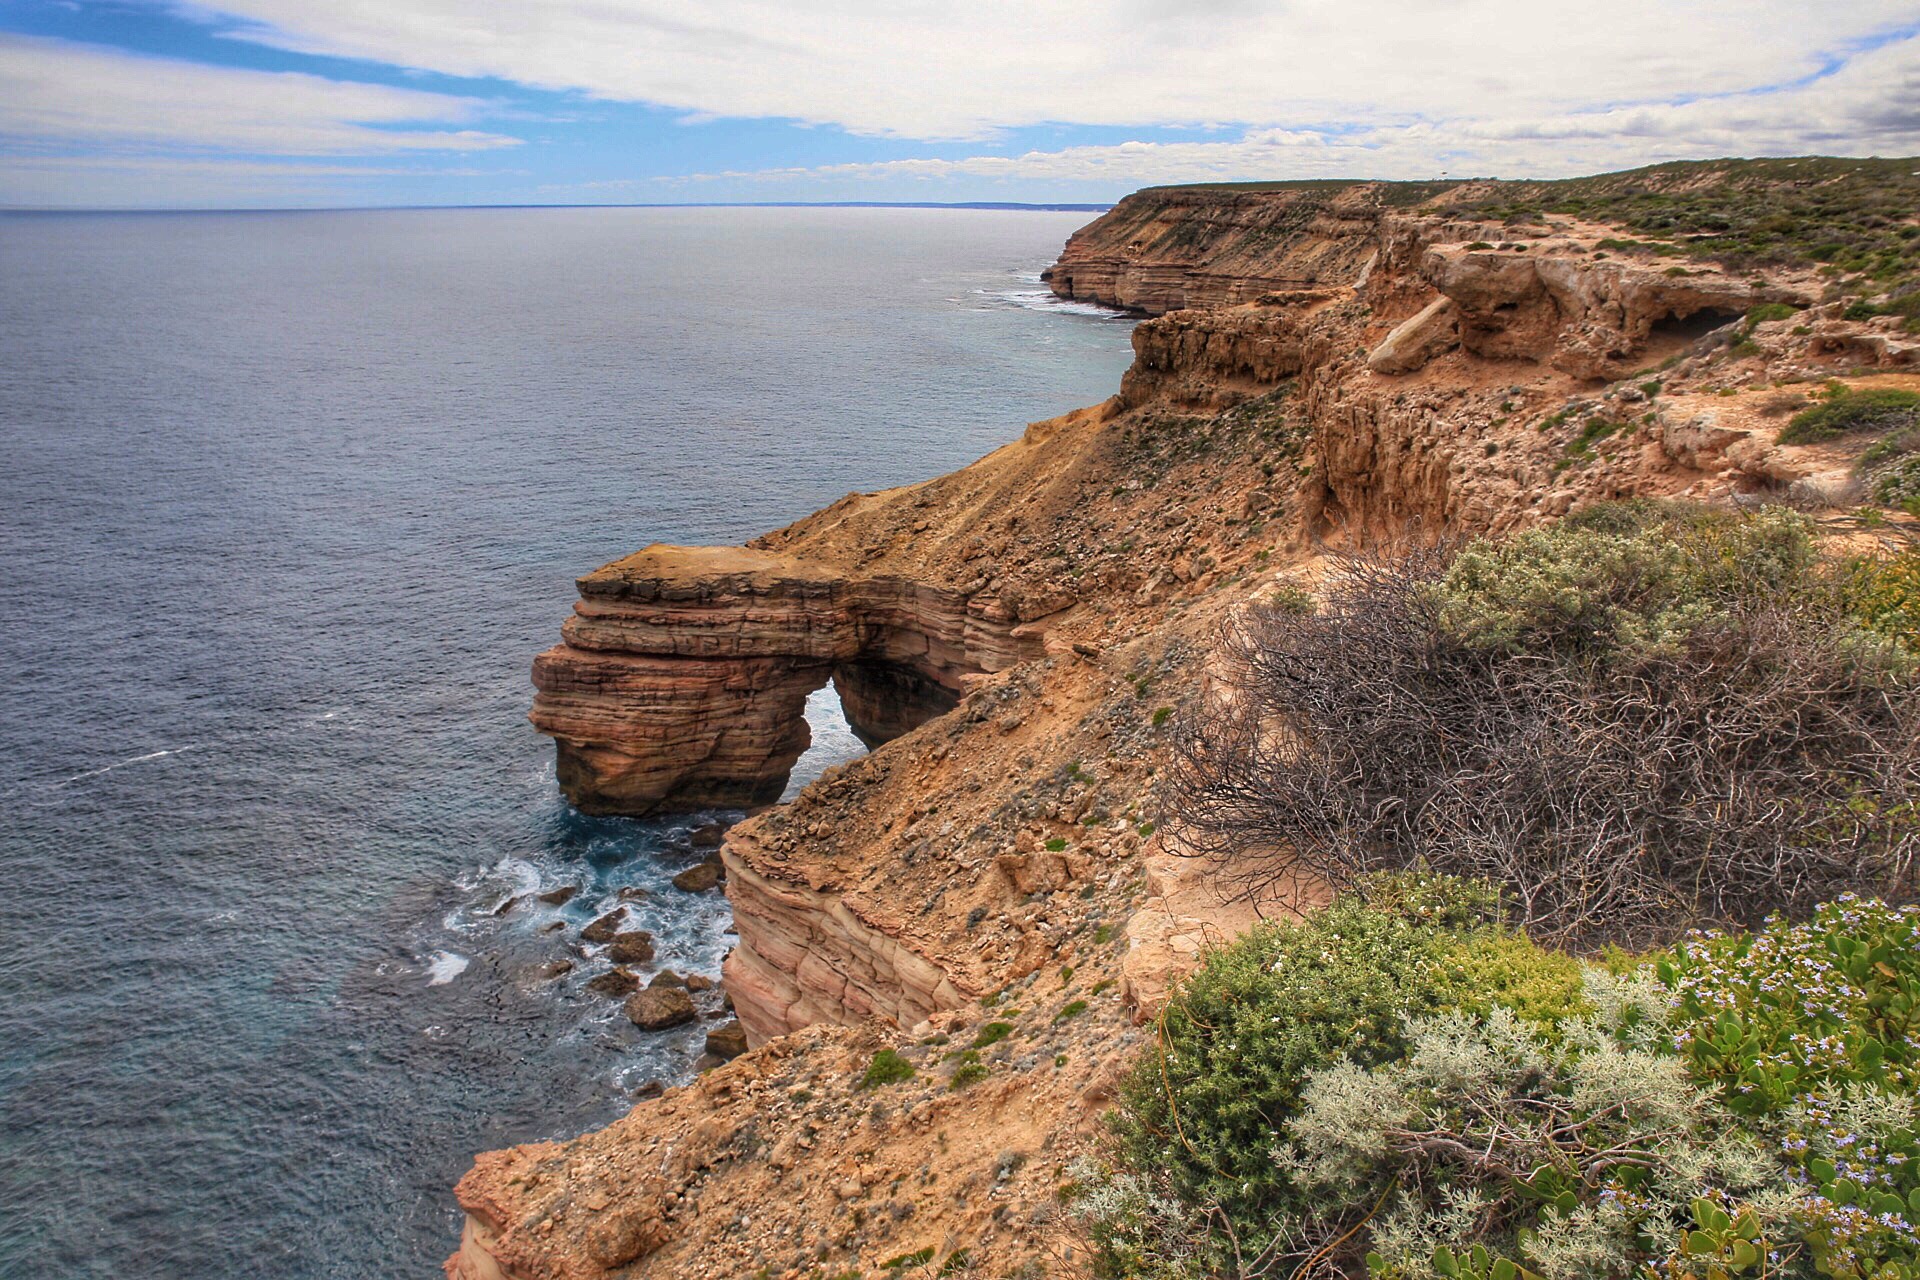
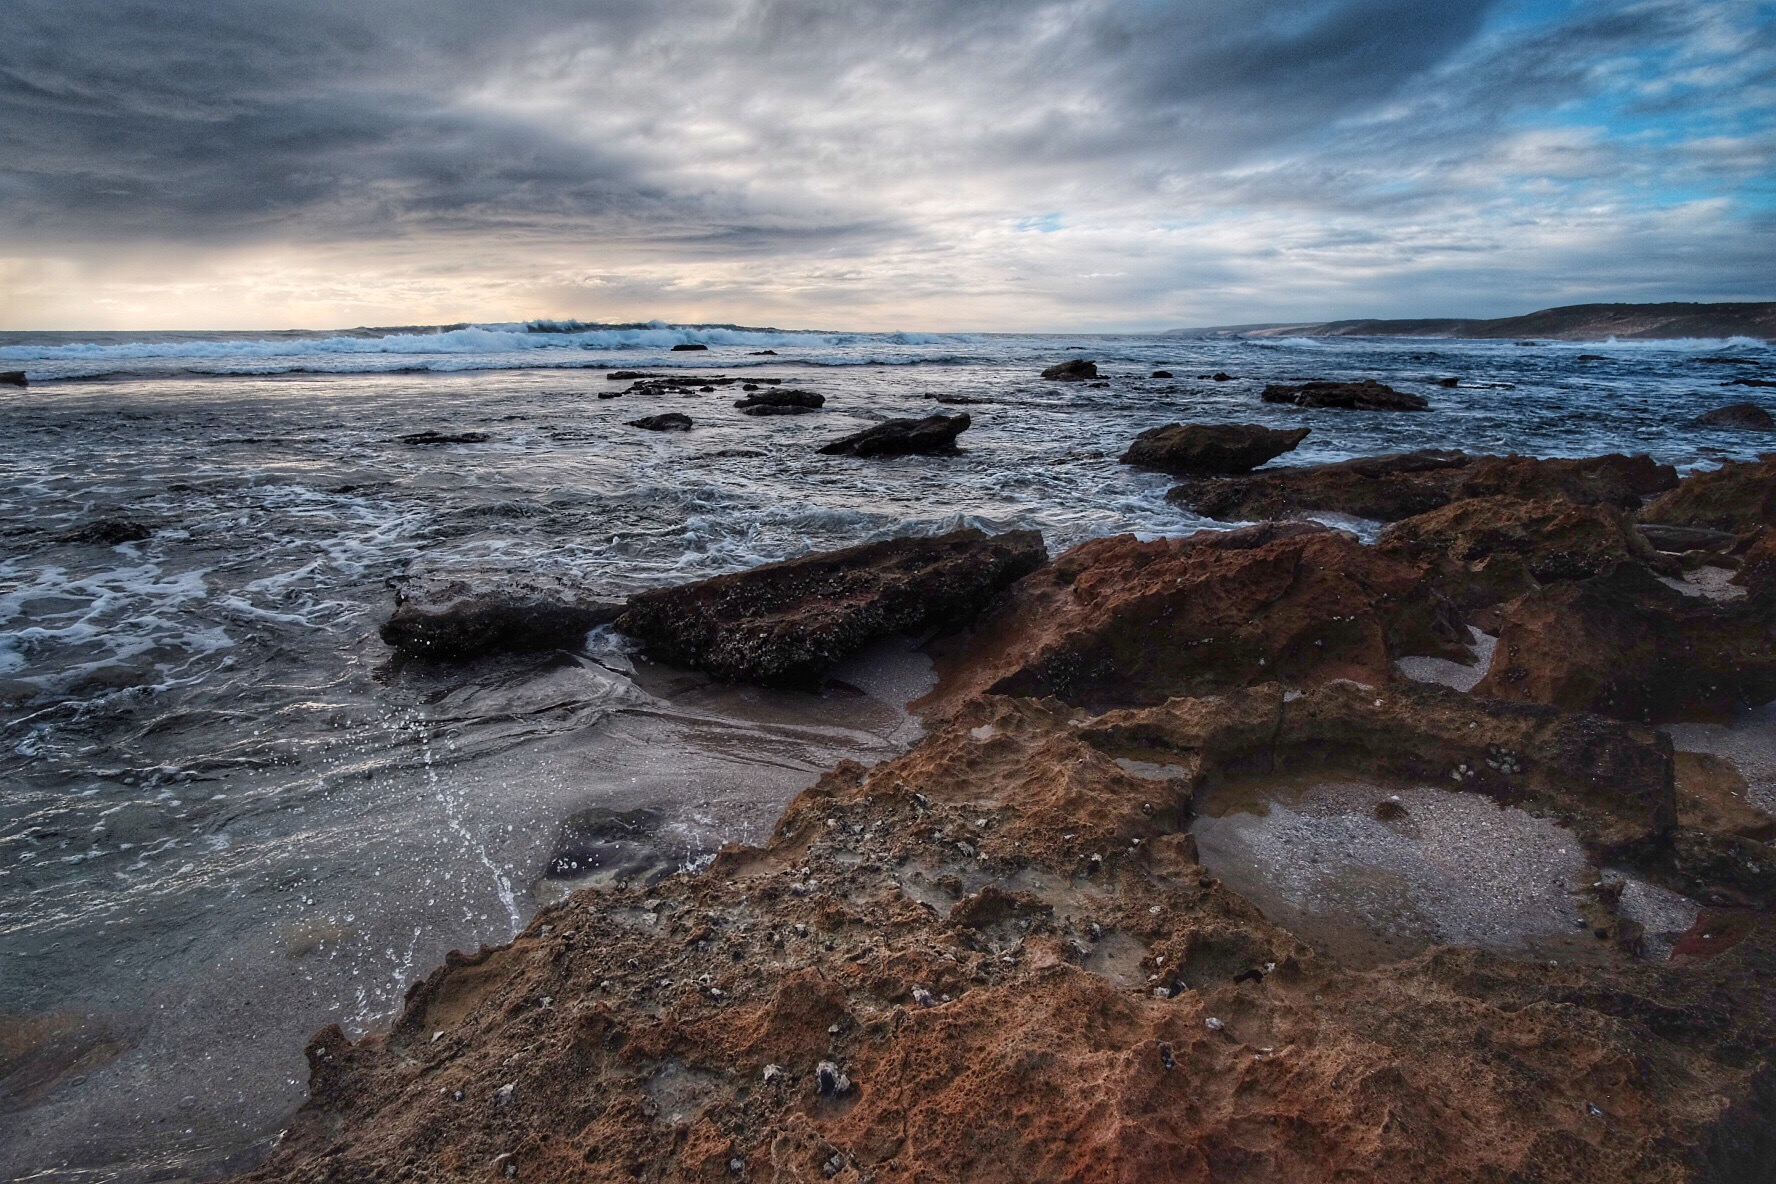
Back at Kalbarri in Westen Australia’s mid-west region for a family holiday, I’ve been snapping some new pics of the area. Fitting photography in around a 1 year old’s eat and sleep routine is not impossible but it does preclude photography at one of the ideal times of day: evening/sunset. So, we make do with what we can!

Kalbarri Jetty (Murchison River)

Sunset rock pool at Kalbarri
Sunset rocks and water at Kalbarri